
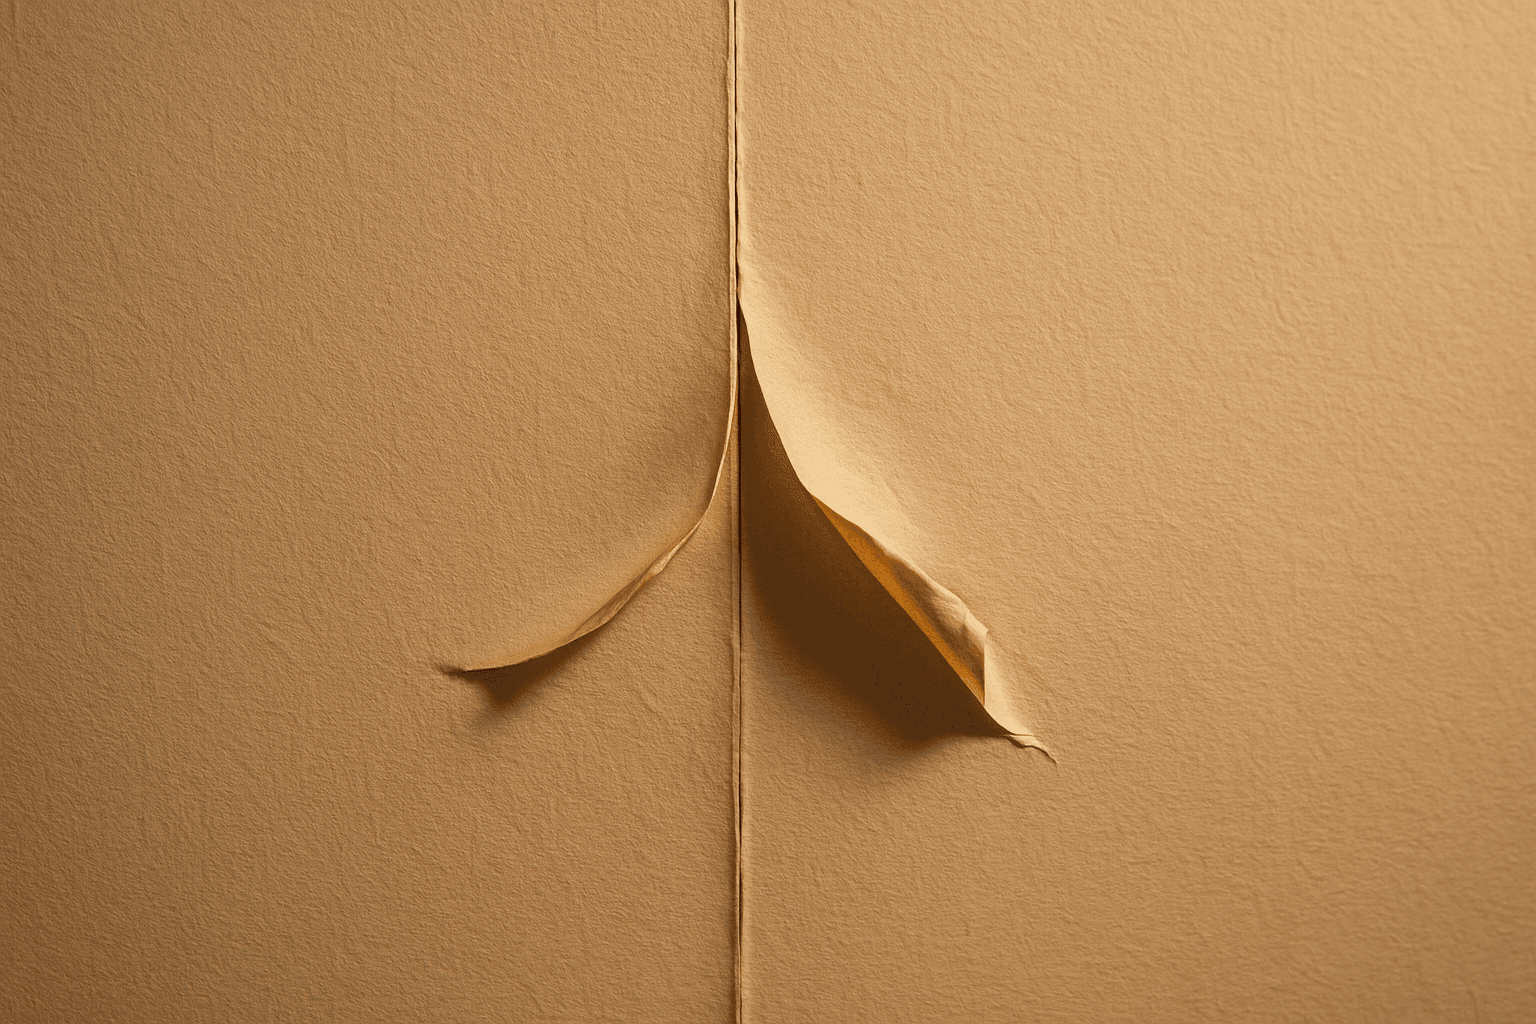
Painting over wallpaper is possible, but only if the wallpaper is firmly bonded to the wall and you follow the right prep process. Moreover, you must learn how to paint over wallpaper correctly to avoid bubbles, peeling seams, and a finish that looks worse than what you started with. Skip the preparation steps, and you will end up with costly mistakes.
Key Takeaways
- Wallpaper must be fully adhered to the wall before any paint is applied, no exceptions.
- Oil-based or shellac primer is essential for sealing seams and preventing moisture-related bubbling.
- Skim coating over problem areas gives you a smoother, more professional result.
- Painting over wallpaper is a workaround, not a permanent fix; removal is still the gold standard.
- Two coats of quality latex paint over the right primer will deliver the most durable finish.
- Professional assessment is worth it when wallpaper condition is unclear or multiple layers are present.
Table of Contents
- When Painting Over Wallpaper Makes Sense
- Preparing the Wallpaper Before You Paint
- Choosing the Right Primer for Painting Over Wallpaper
- Applying the Paint
- Things to Know About Painting Over Wallpaper
- Get a Professional Assessment Before You Commit
- Frequently Asked Questions
When Painting Over Wallpaper Makes Sense
Not every homeowner has the time, budget, or wall structure to justify full wallpaper removal. In older homes, particularly those built before the 1970s, wallpaper was sometimes applied directly over drywall or plaster in ways that make removal extremely damaging. Pulling it off can tear the paper face of drywall or crack plaster. Additionally, you could end up with a wall repair project that costs far more than anticipated.
Painting over wallpaper makes the most sense when:
- The wallpaper is a single layer, not multiple layers stacked over decades.
- All edges and seams are tightly adhered with no lifting, bubbling, or peeling sections.
- The wall structure beneath is fragile and removal poses a structural risk.
- You are working on a space that will be renovated or sold soon and a temporary cosmetic fix is acceptable.
If the wallpaper is already lifting in multiple areas, feels damp, or has visible mold staining, painting over it is not a solution. Those are signs of a moisture problem that paint will not resolve. In contrast, removal and professional wall repair is the only responsible path forward in these cases.
Preparing the Wallpaper Before You Paint
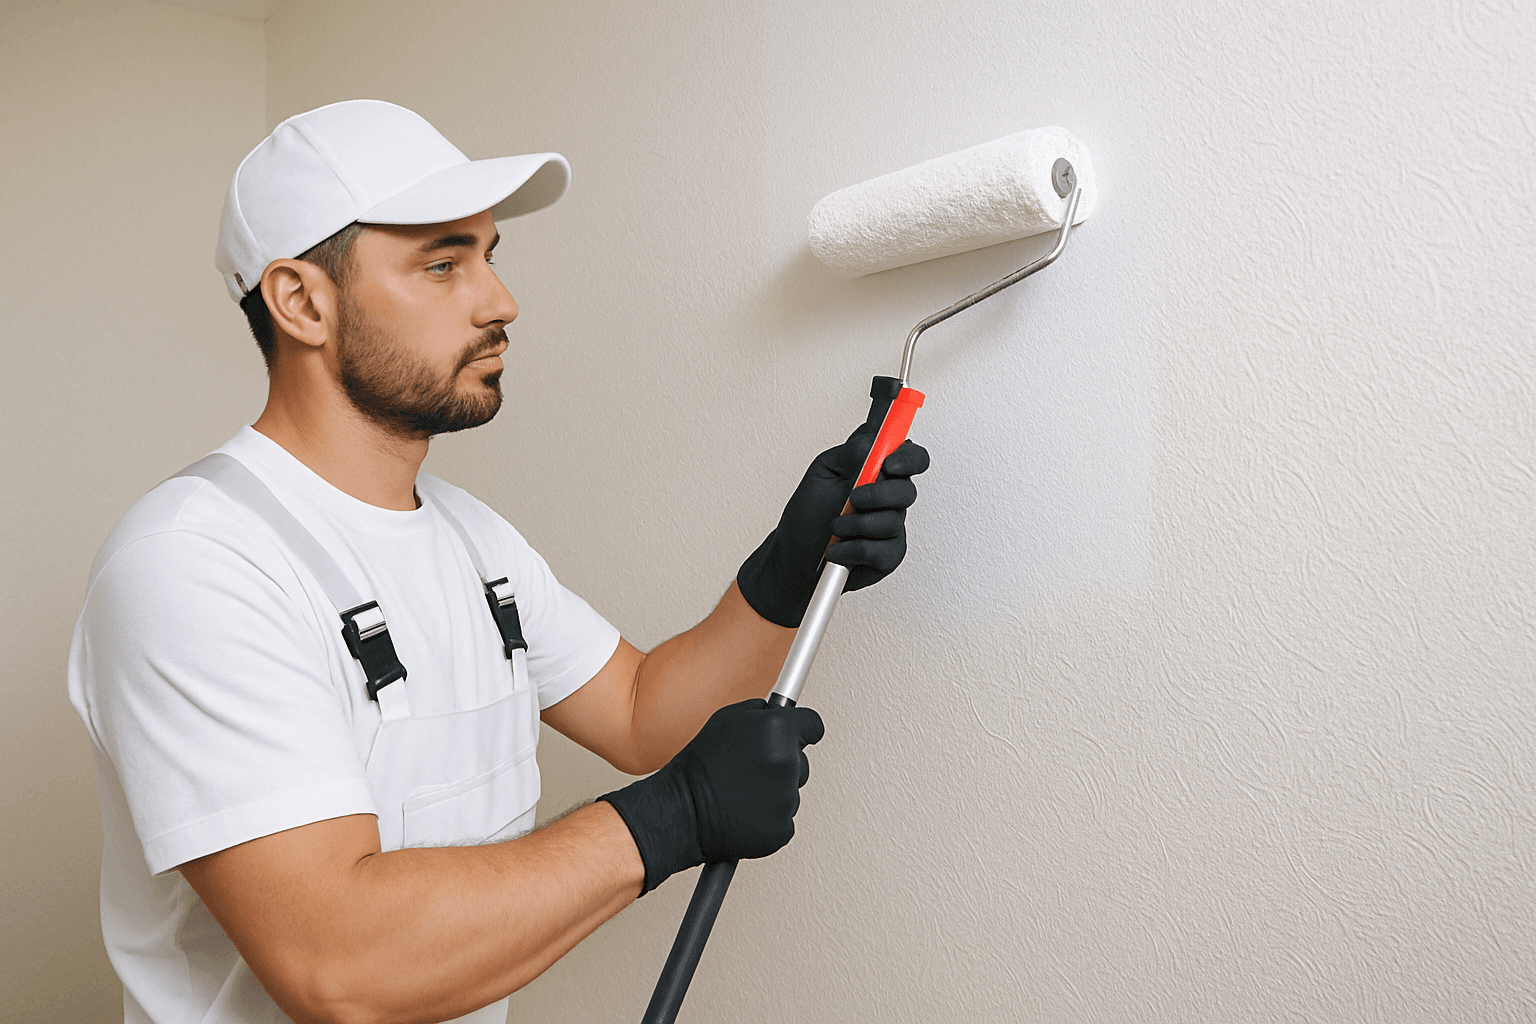
Preparation is where this project either succeeds or fails. Therefore, you cannot rush this step. A thorough prep process takes more time than the actual painting, and that is exactly how it should be.
Step 1: Inspect every seam and edge.
Run your hand along all seams. Press down any edges that have lifted. Use a seam repair adhesive designed for wallpaper. Press the edges flat and let them dry fully before moving on.
Step 2: Fill and sand problem areas.
Use lightweight spackle or joint compound to fill any torn sections, dents, or raised seam ridges. Once dry, sand smooth with 120-grit sandpaper. This is especially important if you want to avoid shadow lines from seams showing through paint.
Step 3: Wipe down the surface.
Remove dust, grease, and grime using a damp cloth. Avoid soaking the wallpaper since excess moisture can loosen the adhesive holding it to the wall.
Step 4: Protect everything else.
Tape off baseboards, outlet covers, and trim. Lay drop cloths on the floor. Do not skip this step, since textured wallpaper paint creates more splatter than a standard smooth-wall job.
For homeowners in Hartford County, this kind of detail work is exactly what separates a clean result from a messy one. Furthermore, if you are planning a broader refresh, it is worth reading about what goes into an interior painting glastonbury ct cleaner smoother project to understand what professional prep really involves.
Choosing the Right Primer for Painting Over Wallpaper
This is the step most DIYers underestimate. Therefore, using the wrong primer when you paint over wallpaper is the number one reason the project fails.
Water-based latex primer is a bad choice here. It introduces moisture into the wallpaper adhesive, which causes the paper to bubble and lift off the wall. Once that happens mid-project, you have a much bigger problem on your hands.
Use one of these instead:
| Primer Type | Best For | Key Advantage |
|---|---|---|
| Oil-based primer | Standard wallpaper, single layer | Strong moisture barrier, seals seams well |
| Shellac-based primer | Stained or glossy wallpaper | Bonds to almost any surface, fast-drying |
| High-adhesion latex primer | Tightly bonded, light-texture wallpaper | Lower odor, still provides decent seal |
Oil-based and shellac primers both require adequate ventilation and appropriate cleanup solvents, so plan accordingly. Apply at least one full coat and allow it to cure completely before painting. In addition, if seams are still visible after the first primer coat, apply a skim coat of joint compound over problem areas, sand smooth, and spot-prime before proceeding.
It is also worth considering the paint itself. Moreover, many homeowners are now choosing options covered in resources like why low voc and zero voc paints are changing interior painting since these formulas reduce indoor air quality concerns, especially important in bedrooms and spaces with limited airflow.
Applying the Paint
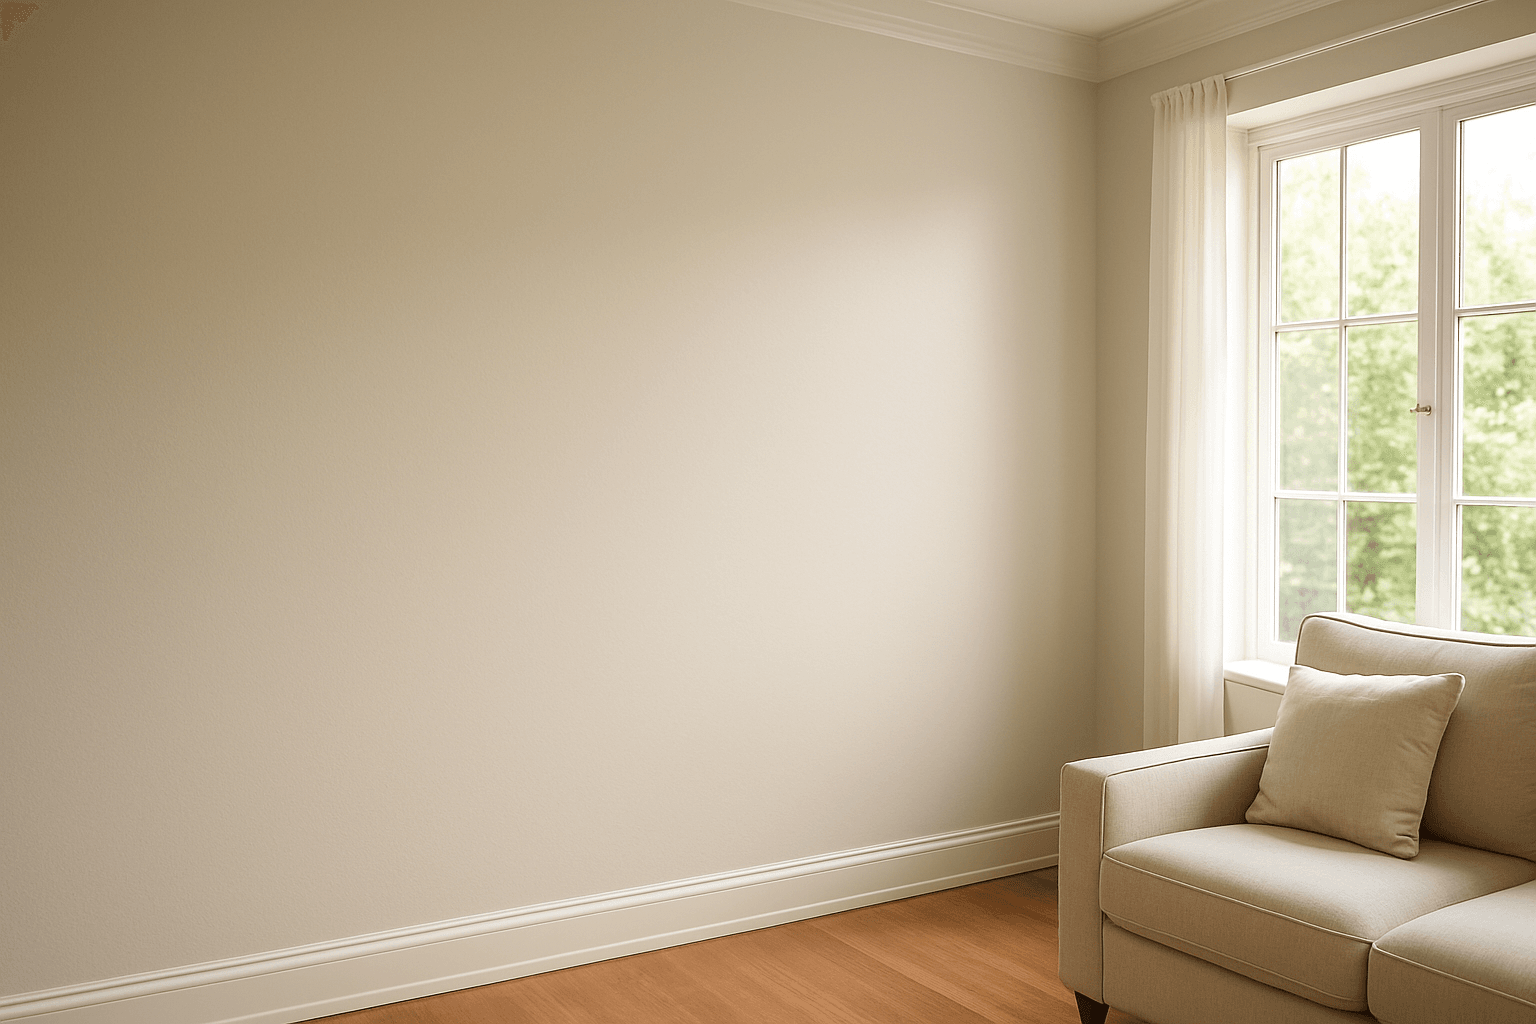
Once your primer is fully cured, applying the topcoat follows standard interior painting practices with a few adjustments.
Use a high-quality latex paint with a satin or eggshell finish. Flat paint tends to highlight texture and seam lines more, while semi-gloss can draw attention to any surface imperfections. In contrast, satin and eggshell hit the right balance for most living spaces.
Apply two full coats, allowing complete drying time between each. Use a 3/8-inch nap roller for smooth wallpaper and a 1/2-inch nap roller for textured surfaces. Cut in around edges with a brush before each roller pass. Work in sections and maintain a wet edge to avoid lap marks.
Avoid applying thick coats. Thin, even coats dry faster, adhere better, and reduce the risk of the paint’s weight pulling at the wallpaper beneath.
If you are curious how these same principles translate to the exterior of your home, the team at Glastonbury Professionals House Painters shares practical guidance on exterior painting glastonbury ct lasting paint tips that are worth bookmarking for your next outdoor project.
Things to Know About Painting Over Wallpaper
- Multiple layers of wallpaper stacked on top of each other are almost always too heavy and unstable to paint over successfully.
- Vinyl-coated wallpaper is particularly resistant to primer and paint adhesion; always test a small section before committing to the full wall.
- Painting over wallpaper can complicate future removal significantly, sometimes requiring professional help to avoid wall damage.
- Textured wallpaper will show through paint unless you skim coat and sand before priming.
- If your home was built before 1978 and the wallpaper has never been disturbed, consult a professional before attempting any removal or aggressive sanding due to potential lead paint beneath.
For inspiration on what the finished wall color could look like once you are done, browsing options like blue exterior paint colors for homes in glastonbury ct can spark ideas for coordinating your interior palette with your home’s exterior.
Get a Professional Assessment Before You Commit
Knowing when to call in a professional can save you hundreds of dollars and weeks of headaches. Glastonbury Professionals House Painters has been serving Hartford County homeowners for over 20 years. Our licensed, insured, and bonded team has seen every wallpaper scenario imaginable.
Before you invest time and materials into a project that may not be salvageable, let us take a look. We can tell you honestly whether painting over your wallpaper is a viable option or whether removal is the smarter long-term decision. Contact us today and get a straightforward assessment from a local professional who knows the homes in this area.
Frequently Asked Questions
Q: Will paint always bubble when applied over wallpaper?
A: Bubbling happens when moisture from water-based primers penetrates the wallpaper adhesive. Fortunately, it is entirely preventable with the right primer. Using an oil-based or shellac primer creates a moisture barrier that keeps the adhesive stable. If you apply latex primer directly over wallpaper, bubbling is almost guaranteed regardless of technique.
Q: Can you use a steam cleaner to remove stubborn sections before painting over the rest?
A: Using a steam cleaner on sections you plan to keep intact can loosen surrounding adhesive and cause more lifting, not less. Therefore, targeted adhesive repair with a seam repair product is a safer approach for fixing problem edges. Steam is best reserved for full removal projects, not partial fixes.
Q: How many coats of paint does wallpaper need?
A: Two coats of quality latex paint over a properly cured primer coat is the standard recommendation for painting over wallpaper. One coat rarely provides adequate coverage or hide, especially over textured or patterned wallpaper. Additionally, three coats may be needed if the pattern is very bold or dark.
Q: Is painting over wallpaper a permanent solution?
A: Painting over wallpaper is a semi-permanent cosmetic solution, not a substitute for proper wall preparation. Over time, especially in high-humidity areas like bathrooms, the painted surface may begin to peel or bubble. Moreover, future buyers or renovators will face the added challenge of removing painted wallpaper, which is significantly more difficult than removing standard wallpaper.
Q: Does wallpaper texture always show through paint?
A: Heavily textured wallpaper will almost always show through paint unless the surface is skim coated and sanded before priming. Lightly textured or smooth wallpaper may require only a careful primer and sanding pass to minimize visibility. In addition, the degree of texture visibility also depends on the sheen level of the topcoat you choose.