

What’s In This Guide
- How Should Homeowners Plan An Interior Painting Project?
- What Prep Steps Create A Cleaner Finish?
- How Do Paint Finish Choices Affect Daily Use?
- What Should Be Included In A Room-By-Room Scope?
- What Local Details Can Change The Painting Plan?
- How Can You Turn The Estimate Into A Clear Project Plan?
- What Should Happen During The Final Walkthrough?
- Frequently Asked Questions (FAQs)
- Start Your Interior Painting Project With Confidence
A successful interior paint job depends on more than choosing the right color. Careful planning, proper surface preparation, thoughtful finish selection, and a well-organized schedule all contribute to a cleaner process and a longer-lasting result. Taking time to plan each room also helps minimize disruption to your home and everyday routine.
If you’re considering interior painting in Glastonbury, CT, knowing what to expect before work begins can make the project much smoother.
Quick Facts
- Interior painting in Glastonbury, CT, works best when rooms are planned by use, finish, prep needs, and drying time.
- Walls, ceilings, trim, doors, and cabinets often require different prep and finish choices.
- EPA guidance on indoor air quality can help homeowners plan proper ventilation during interior painting projects.
- A room-by-room plan reduces disruption and keeps furniture, floors, and daily routines protected.
- The cleanest results usually come from careful patching, sanding, dust control, and finish selection before painting starts.
How Should Homeowners Plan An Interior Painting Project?

Interior house painting should start with the rooms, not the color chart. Glastonbury, CT homeowners get better results when each room has a clear scope, finish choice, and access plan.
Bedrooms, kitchens, staircases, and bathrooms each present different painting conditions. Moisture, traffic, lighting, furniture, and trim detail affect how the crew prepares and paints each space.
What Prep Steps Create A Cleaner Finish?
Clean interior painting depends on what happens before the roller touches the wall. Small defects become more visible after fresh paint, especially in rooms with bright daylight or glossier finishes.
- Patch nail holes, dents, and wall damage.
- Sand repaired areas until the surface is smooth and even.
- Caulk trim gaps where needed.
- Clean grease, dust, and residue before painting kitchens or high-touch areas.
- Protect floors, fixtures, cabinets, and furniture before prep begins.
How Do Paint Finish Choices Affect Daily Use?
Finish choice should match the room’s traffic and cleaning needs. A finish that works in a quiet bedroom may not fit a hallway, bathroom, kitchen, or mudroom.
Lower-sheen finishes can hide small wall flaws, while higher-sheen finishes usually handle cleaning better. Homeowners should also plan ventilation and odor control. Good ventilation also helps maintain indoor air quality during painting.
MORE ON THIS TOPIC: Exterior Painting in Glastonbury, CT: What Helps Paint Last Longer
What Should Be Included In A Room-By-Room Scope?
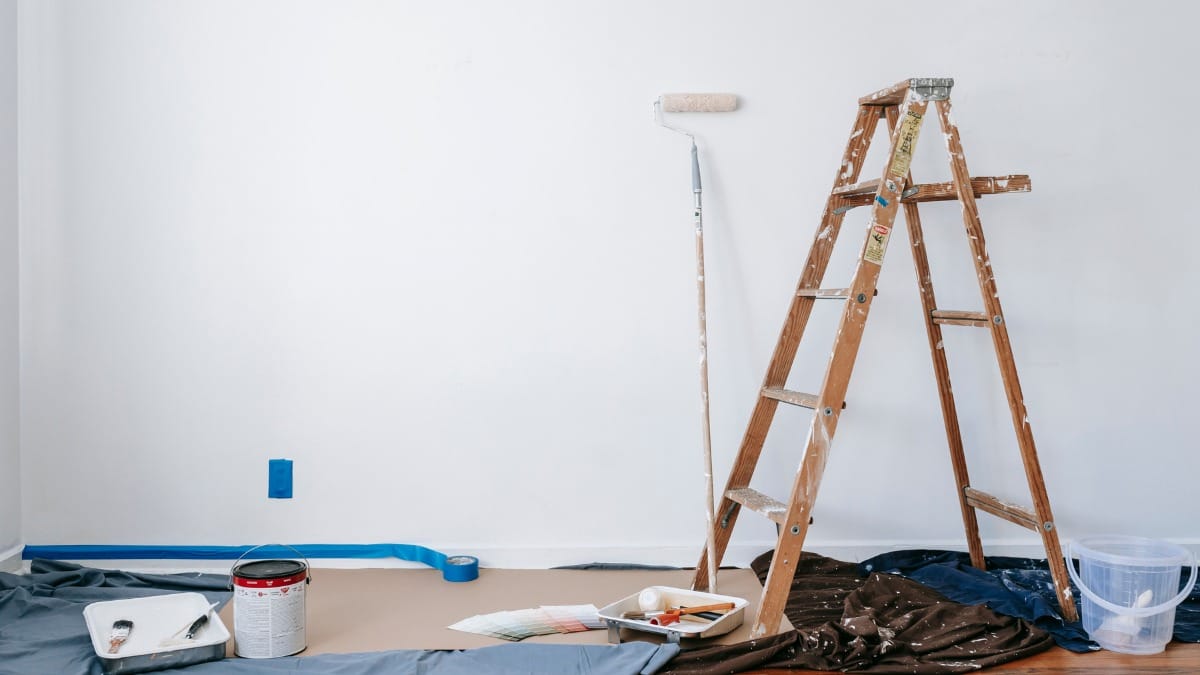
A room-by-room scope helps prevent missed details. The scope should identify walls, ceilings, trim, closets, doors, built-ins, repairs, color changes, and furniture movement.
- List every room or area included.
- Separate walls, ceilings, trim, doors, and accent areas.
- Note repairs, stains, caulk, or drywall issues.
- Choose finishes based on traffic and cleaning needs.
- Plan the order of work to reduce disruption.
What Local Details Can Change The Painting Plan?
Local conditions can change the best painting plan even when two homes need the same basic service. Age, shade, moisture exposure, trim condition, ventilation, and daily use all affect prep and product decisions.
Homeowners should mention details that may not come up during an initial estimate or consultation with an interior painting contractor. Recent leaks, old repairs, peeling areas, cabinet coatings, pets, children, work-from-home schedules, and access limits can all affect the order of work.
- Note areas that peel, stain, or collect moisture first.
- Identify rooms or exterior walls that are hardest to access.
- Ask how the painter will protect nearby surfaces before prep starts.
- Confirm whether repairs, primer, caulk, or specialty cleaning are included.
How Can You Turn The Estimate Into A Clear Project Plan?

The estimate should become a practical project plan before work begins. That plan should explain scope, schedule, products, surface preparation, protection, cleanup, and the final walkthrough.
A clear plan also helps prevent scope drift. When the homeowner and painter agree on which surfaces are included, which conditions require extra repair, and how weather or drying time will be handled, the project is easier to manage.
Before approving the project, ask your painter to explain the next steps in clear, straightforward language. The answer should make the timeline, access needs, and decision points easy to understand.
What Should Happen During The Final Walkthrough?
The final walkthrough should happen before the project is considered complete. This is the time to review coverage, edges, touchups, cleanup, and any care instructions that protect the new finish.
Homeowners should look at the work in natural and artificial light when possible. Different lighting conditions can reveal missed edges, thin spots, roller marks, or other imperfections.
- Review corners, trim lines, doors, cabinet edges, or siding transitions.
- Ask how long to wait before washing, rehanging items, or heavy use.
- Confirm leftover paint labels, colors, and finishes for future touchups.
- Document any agreed touchups before the crew leaves.
A clean finish is only part of a successful painting project. Clear closeout details help the homeowner maintain the work and know what to expect as the coating cures.
Frequently Asked Questions (FAQs)
Should ceilings be painted with the walls?
Often, yes. A freshly painted ceiling can make new wall colors appear cleaner and more consistent, especially if the existing ceiling has stains, discoloration, or uneven coverage. Painting both at the same time also creates a more cohesive finished appearance.
How long should interior paint dry before moving furniture back?
Dry time depends on the paint product, humidity, temperature, and coating thickness. Many rooms can be used carefully within 24 hours, but paint continues curing for several days or even weeks. Follow your painter’s recommended curing times before moving heavy furniture back into the room.
Can trim and walls use the same paint finish?
They can, but they often perform better with different finishes. Walls commonly use flat, matte, or eggshell finishes, while trim, doors, and baseboards typically benefit from satin or semi-gloss finishes because they are more durable and easier to clean.
Should repairs be completed before interior painting?
Yes. Holes, cracks, nail pops, damaged drywall, and other surface imperfections should be repaired before painting begins. Proper patching, sanding, and priming help create a smoother finish and improve paint adhesion.
How do I choose the right paint color for my home?
Consider the room’s lighting, existing flooring, cabinetry, furniture, and overall style. Testing paint samples on different walls and viewing them throughout the day can help you see how natural and artificial light affect the color before making a final decision.
Start Your Interior Painting Project With Confidence
Glastonbury Professional House Painters helps homeowners move from planning to a clear project scope, realistic timeline, and lasting finish. Every project starts with an evaluation of your home’s surfaces, preparation needs, and painting goals so the work can be planned correctly from the beginning.
With a detailed estimate and well-defined plan, you can move forward with our interior painters knowing what to expect from preparation through the final walkthrough.