
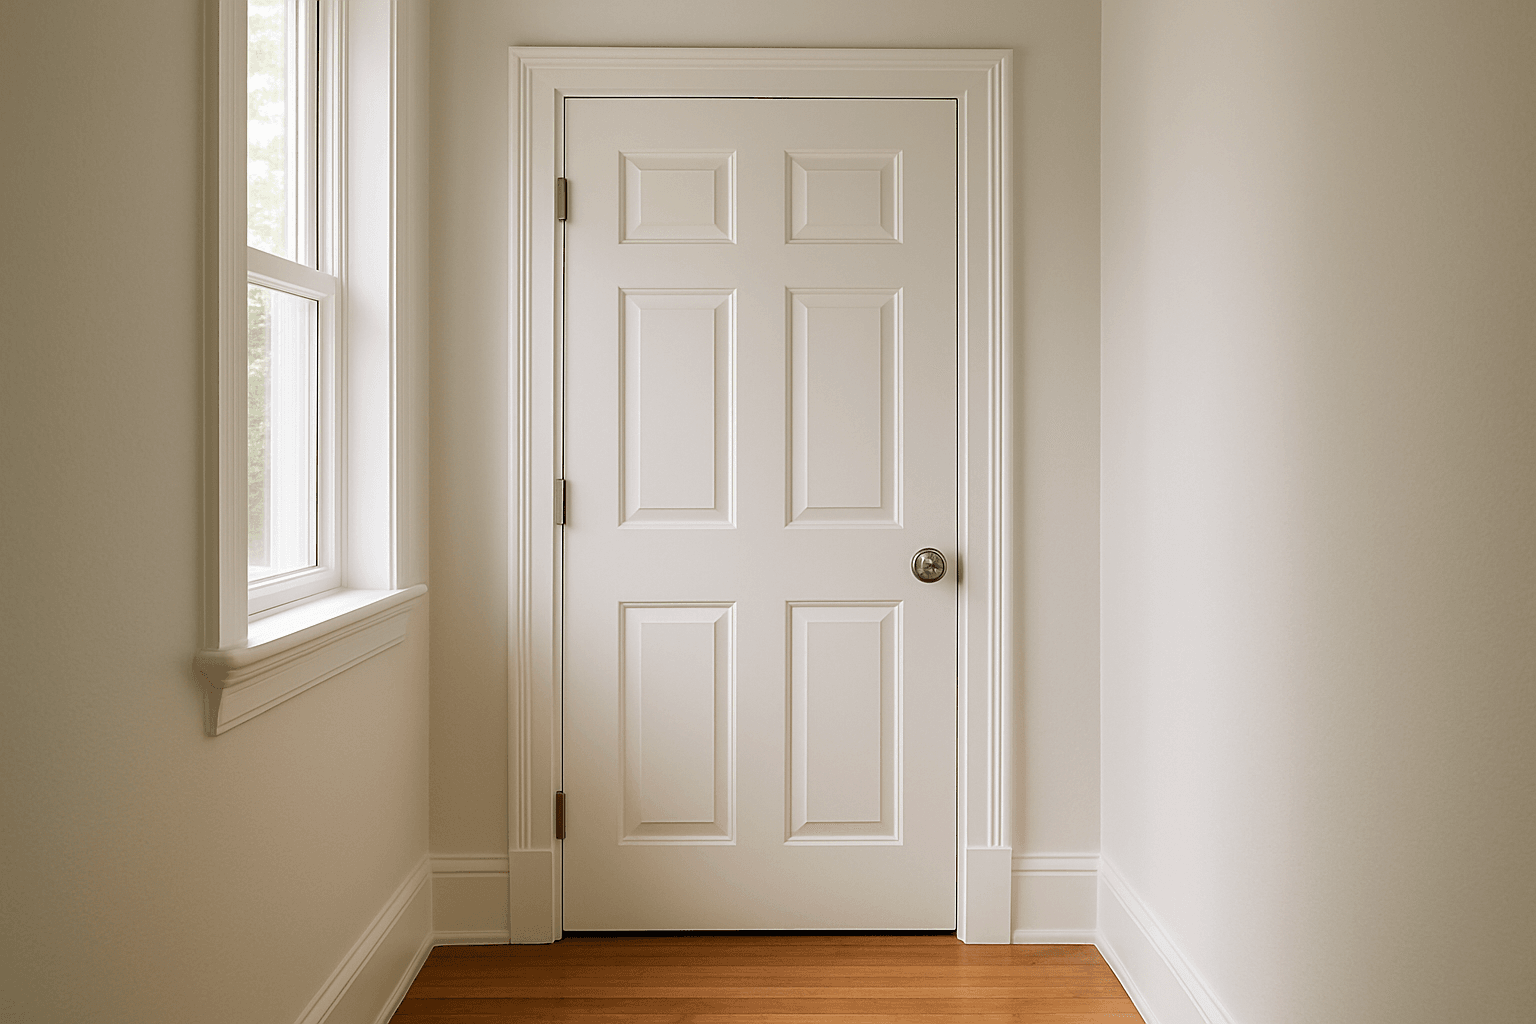
Learning how to paint interior doors is one of the most cost-effective ways to refresh a room without a full renovation. Moreover, when done correctly, a freshly painted door looks sharp, holds up to daily wear, and can completely change the feel of a space.
Table of Contents
- Key Takeaways
- Why Interior Doors Are Worth the Effort
- What You Need Before You Start
- Step-by-Step Guide for How to Paint Interior Doors
- Choosing the Right Paint and Finish
- Things to Know About Painting Interior Doors
- Call a Pro When the Job Gets Complicated
Key Takeaways
- Proper surface prep determines whether paint looks smooth or peels within months.
- Semi-gloss or satin finishes are the most practical choices for interior doors.
- Removing the door before painting produces cleaner results than painting it in place.
- Low-VOC paints are a healthier choice, especially in bedrooms and hallways with low airflow.
- According to HIRI (2025), interior painting projects offer a 107% ROI, making them one of the best-value home improvements available.
- In 2025, 29% of homeowners hired professionals for painting, and 70% said they are likely to hire again within the year (HIRI, 2025).
Why Interior Doors Are Worth the Effort
Most homeowners focus on walls when they think about interior painting. However, doors take a surprising amount of abuse. Hands touch them dozens of times a day, and hinges stress the frame. Scuffs accumulate faster than on any wall surface. A chipped, yellowed, or dented door pulls down the look of an otherwise well-maintained room.
According to HIRI (2025), more than half of all homeowners (56%) plan to paint an area of their home in the next 12 months. Interior doors are one of the fastest upgrades within that category. The payoff is visible immediately. For context on how interior painting glastonbury ct cleaner smoother project planning works at a broader scale, the same principles apply here: clean surfaces, the right materials, and patience.
What You Need Before You Start
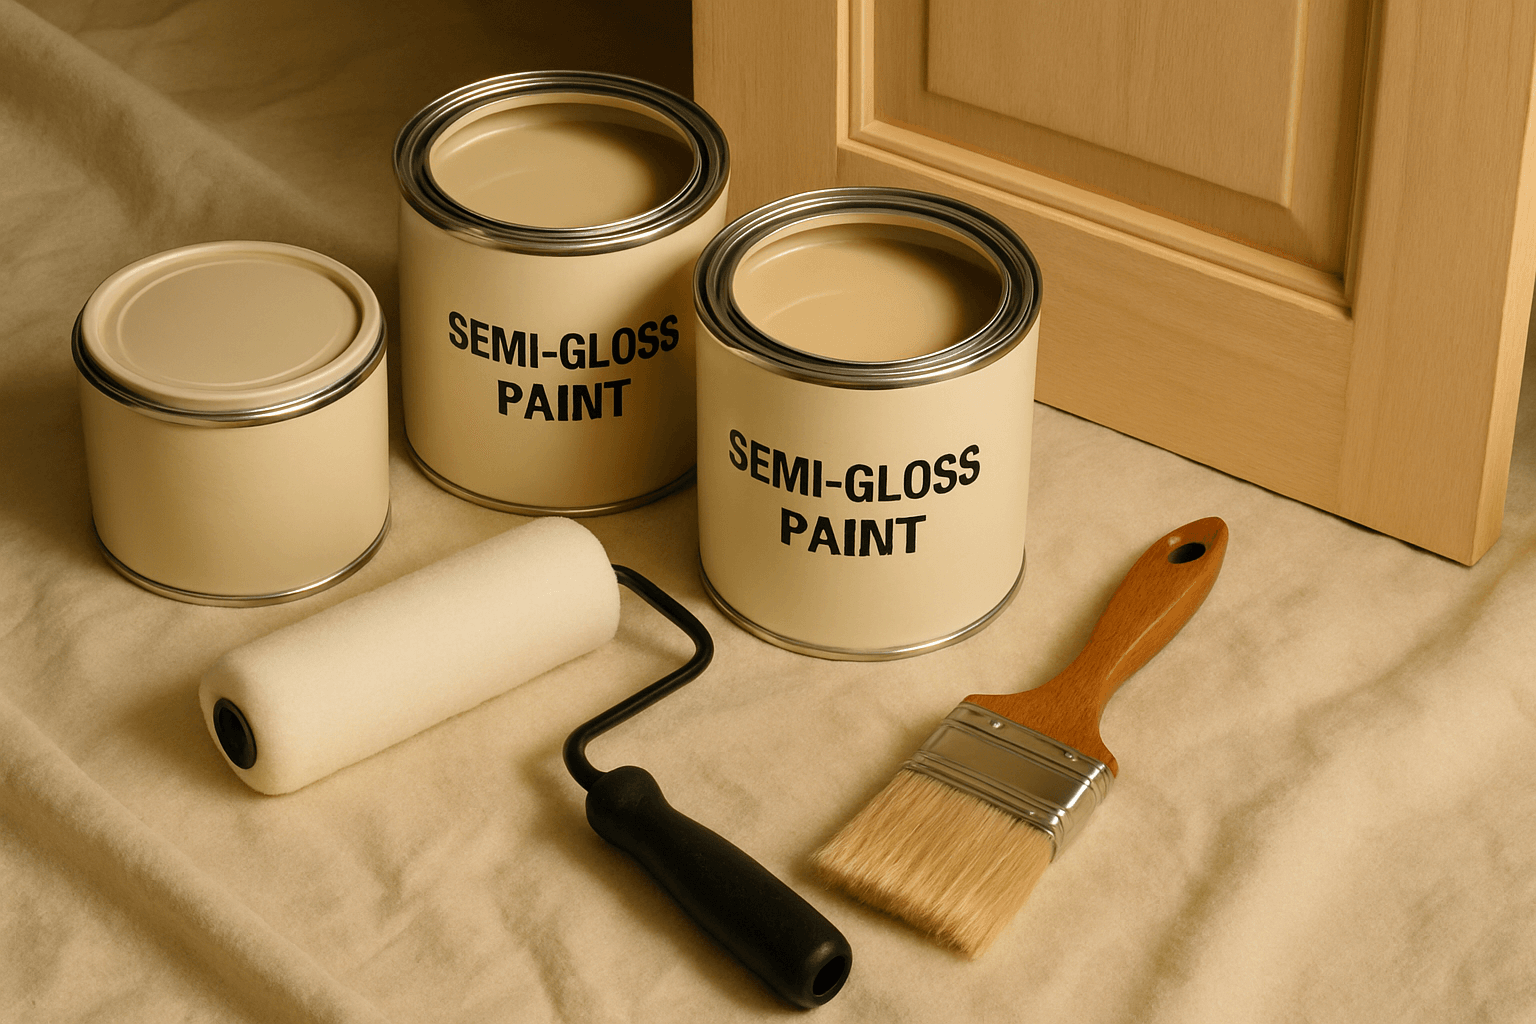
Gather your materials before touching the door. Additionally, stopping mid-project to make a hardware run wastes time and risks lap marks in your paint.
Materials checklist:
- Fine-grit sandpaper (120 to 220 grit)
- TSP cleaner or mild degreaser
- Painter’s tape
- Wood filler or spackling compound
- Quality synthetic-bristle brush and a small foam roller
- Primer (oil-based for stained wood, latex for previously painted surfaces)
- Semi-gloss or satin interior paint
Remove the door from its hinges when possible. Furthermore, laying it flat on sawhorses is the most reliable way to avoid drips and brush marks. Pull the hardware off entirely, or tape it thoroughly if removal is not practical.
Step-by-Step Guide for How to Paint Interior Doors
1. Clean the surface. Wipe the entire door with a degreaser. Grease, fingerprints, and grime prevent paint from bonding properly.
2. Sand lightly. Scuff the existing surface with 120-grit sandpaper. Then follow with 220-grit for a smoother base. Wipe away all dust with a tack cloth.
3. Fill imperfections. Apply wood filler to any dents or gouges. Let it dry fully, then sand flush.
4. Prime. Never skip primer on bare wood or glossy surfaces. One coat of a quality primer dramatically improves adhesion and color uniformity.
5. Paint the panels first. On panel doors, work from the recessed panels outward. This sequence prevents overlap marks at the edges. Use a brush for corners and the roller for flat surfaces.
6. Apply two coats. Let the first coat dry completely before applying the second. Rushing this step is one of the most common mistakes homeowners make.
7. Reinstall hardware last. Wait at least 24 hours before rehanging the door. This timing helps avoid sticking.
Choosing the Right Paint and Finish
Semi-gloss is the standard recommendation for interior doors because it is easy to wipe down. Additionally, it reflects light cleanly. Satin is a reasonable alternative if you prefer a subtler sheen. Flat paint is not appropriate here since it absorbs oils and scuffs easily.
Paint formulation matters beyond just color. Moreover, many homeowners are now choosing low-VOC options through resources like why low voc and zero voc paints are changing interior painting for health and air quality reasons. Our article covers what these labels actually mean and which products perform best.
Things to Know About Painting Interior Doors
- Doors painted in place often show brush runs. Gravity pulls wet paint downward when the door is vertical, especially near panels and grooves.
- Oil-based paint is more durable but requires longer dry times. In contrast, high-quality water-based enamel delivers comparable hardness with far less odor and cleanup hassle.
- Dark colors on doors are a growing trend. Many homeowners pair them with blue exterior paint colors for homes in glastonbury ct to create a cohesive, modern palette from exterior to interior.
- Old doors may have lead paint. If your home was built before 1978, test before sanding. The EPA recommends using certified renovation contractors if lead is present.
Call a Pro When the Job Gets Complicated
DIY door painting works well on straightforward projects with sound existing surfaces. However, when you are dealing with multiple doors, heavily damaged wood, or older homes with unknown paint history, the job scales up quickly. Applying principles outlined in exterior painting glastonbury ct lasting paint tips becomes equally important. Furthermore, as HIRI (2025) noted, 73% of home improvement projects in 2025 were at least partially DIY, but painting remained the category where professional results were most noticeably different from self-done work.
Book a Free Estimate from Glastonbury’s Trusted Painting Team
Glastonbury Professionals House Painters has served Hartford County homeowners for over 20 years. We handle everything from single-door refreshes to full interior painting projects. Additionally, we are licensed, insured, and bonded, and we bring the prep work and material knowledge that separates a lasting result from a job that needs redoing in two years.
Request your free estimate today and let us take the guesswork out of your next project.