
Painting your kitchen cabinets is one of the highest-impact updates you can make without a full renovation. Moreover, when done right, it can add years of life to your cabinetry and completely transform how your kitchen looks and feels. Learning how to paint kitchen cabinets properly ensures professional-quality results that endure.
Key Takeaways
- Proper cleaning and sanding are the most critical steps — skipping them causes paint to peel within months.
- Always use a bonding primer formulated for slick, non-porous surfaces like cabinet wood or laminate.
- A cabinet-specific paint (alkyd or waterborne alkyd) will outperform standard interior wall paint in durability.
- Removing doors and hardware before painting produces a significantly cleaner, more professional result.
- Low-VOC or zero-VOC paint options are worth considering, especially in a space like the kitchen where ventilation may be limited.
- Rushing dry times between coats is the most common DIY mistake that leads to a rough, uneven finish.
Why Prep Work Determines Your Cabinet Paint Success
Most failed cabinet paint jobs come down to one thing: skipping prep. Cabinets take a beating every single day. Heat, steam, grease, and constant touching all degrade paint adhesion over time. If the surface underneath isn’t clean and properly scuffed, even the best paint won’t stick.
Start by removing all cabinet doors, drawer fronts, and hardware. Additionally, label everything with painter’s tape and a marker so reassembly is straightforward. Clean every surface thoroughly with a degreaser or TSP (trisodium phosphate) substitute. Grease is invisible to the naked eye but will absolutely prevent adhesion if left behind.
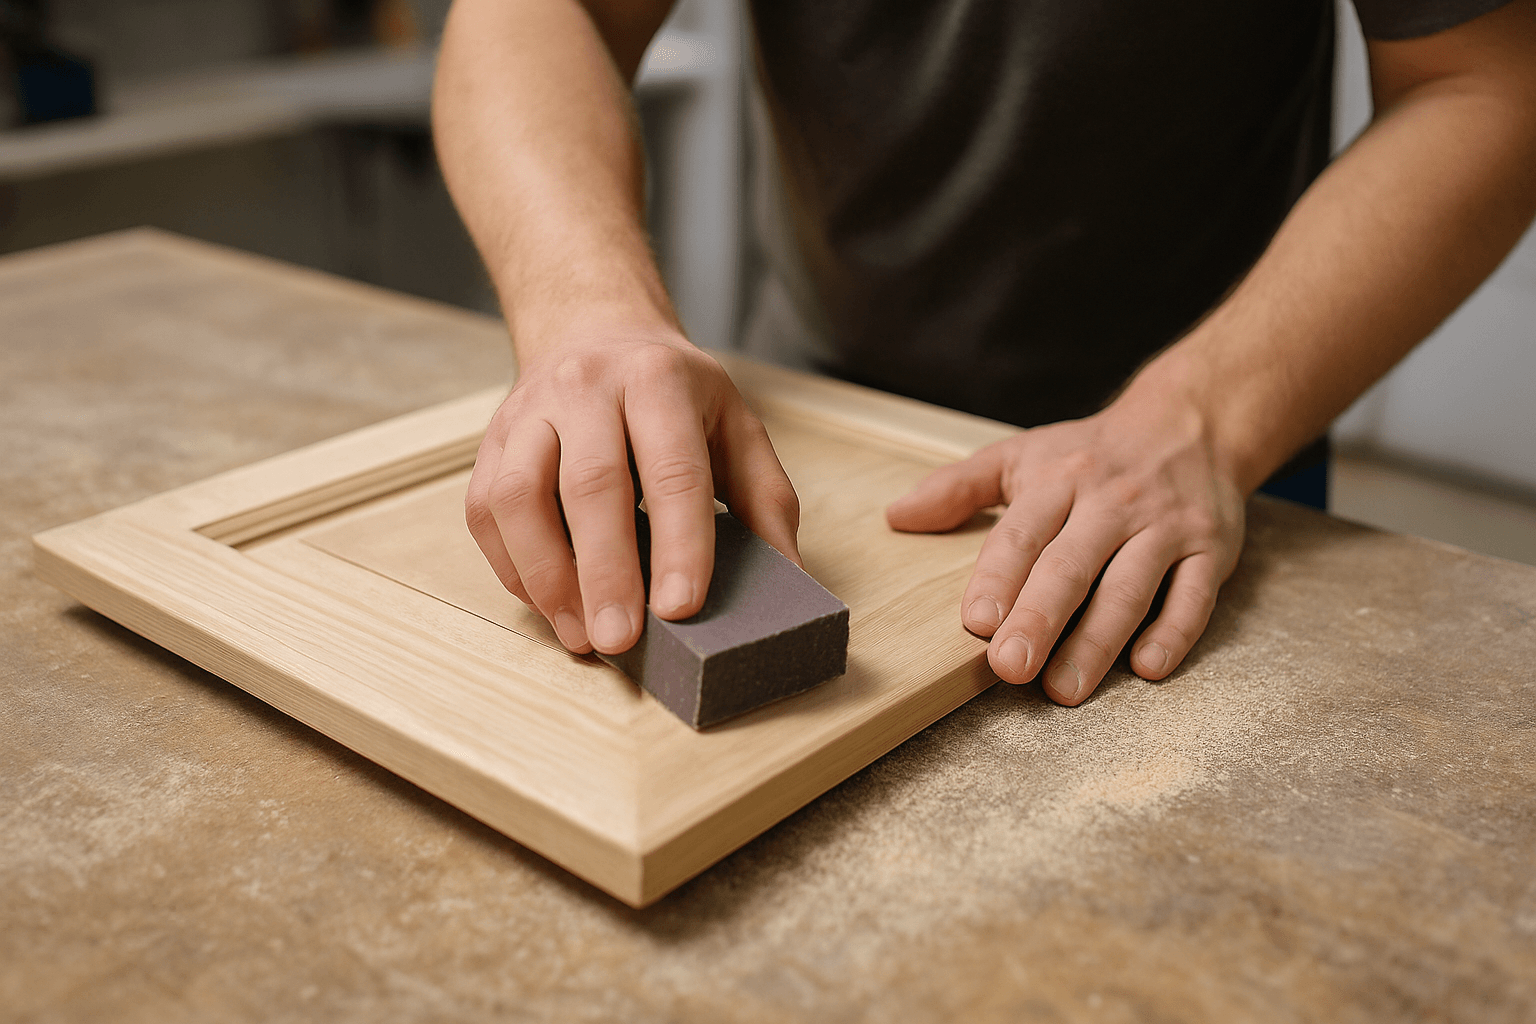
Once clean, lightly sand all surfaces with 120 to 150-grit sandpaper. You’re not trying to strip the finish — just create a tooth for the primer to grab onto. Therefore, wipe away all dust with a tack cloth before moving forward.
How to Select the Right Primer for Painted Cabinets
This is where most DIYers make a costly mistake. Not all primers are equal, and standard interior wall paint is not designed for cabinets.
Primer: Use a bonding primer specifically formulated for slick surfaces. Shellac-based primers like Zinsser BIN or water-based options like Stix by Benjamin Moore are widely trusted by professional painters. These create the adhesion layer your topcoat needs to stay put.
Paint: For cabinets, you want a hard, durable finish. Alkyd (oil-based) paints level beautifully and cure very hard. However, they take longer to dry and require mineral spirits for cleanup. Waterborne alkyd paints, such as Benjamin Moore Advance or Sherwin-Williams Emerald Urethane, offer the best of both worlds. They deliver a hard finish with easier soap-and-water cleanup.
Avoid standard latex wall paint. It stays slightly flexible when cured, which makes it prone to chipping on high-contact surfaces like cabinet doors.
If you’re thinking about paint chemistry more broadly, it’s worth reading about why low voc and zero voc paints are changing interior painting — especially relevant in enclosed kitchen spaces with limited airflow.
Application Techniques That Separate Good Results From Great Ones
| Method | Finish Quality | Skill Level Required | Cost |
|---|---|---|---|
| Foam roller + brush | Good | Beginner | Low |
| Mini roller + brush | Very good | Beginner-Intermediate | Low |
| Airless sprayer | Excellent | Intermediate-Advanced | Higher upfront |
| HVLP sprayer | Excellent | Advanced | Moderate-High |
For most homeowners doing this as a one-time project, a high-density foam roller combined with a quality angled brush for corners and edges produces very clean results. Apply thin coats rather than thick ones. Thick coats sag, take longer to dry, and show brush marks more readily.
Apply at least two topcoats, sanding lightly with 220-grit between coats. In addition, this step is often skipped but makes a noticeable difference in the final smoothness, much like the approach to interior painting glastonbury ct cleaner smoother project work where lighter prep between coats leads to a smoother finish.
Allow full cure time before reattaching doors and hardware. Most waterborne alkyds are dry to the touch within hours. However, they don’t fully cure for 21 to 30 days. Handle them gently during that window.
Important Considerations When You Paint Kitchen Cabinets
- Temperature matters. Paint applied in rooms below 50°F or above 90°F may not adhere or dry properly.
- Cabinet material affects the approach. MDF, laminate, and solid wood each behave differently and may need specific primer types.
- Color choice affects durability perception. Dark colors show fingerprints and dust more readily than mid-tone or lighter shades.
- Exterior-grade tips apply indoors too. Lessons from exterior painting glastonbury ct lasting paint tips around surface prep and top-coat durability translate well to cabinet projects.
Frequently Asked Questions
Q: Do I need to sand cabinets before painting?
A: Yes, sanding is necessary for proper paint adhesion. Even if you’re using a bonding primer, lightly scuffing the surface helps the primer grip. Without sanding, paint is more likely to peel or chip within the first year, especially near high-use areas.
Q: How many coats of paint do kitchen cabinets need?
A: Most cabinet projects require one coat of primer and two coats of paint. Some surfaces or dramatic color changes may call for a third topcoat. Each coat should be thin and allowed to dry fully before the next is applied.
Q: Can I paint over cabinets without removing the doors?
A: Technically yes, but removing the doors produces a much better result. Painting doors flat on a work surface prevents drips, allows even coverage on all edges, and is far easier to manage than working around hinges.
Q: How long do painted cabinets last?
A: With proper prep and the right paint, painted cabinets can hold up well for seven to ten years or more. Regular cleaning with mild soap and water, and avoiding abrasive scrubbers, significantly extends the life of the finish. Chip touch-ups with a small artist’s brush also help.
Q: What finish sheen should I use on kitchen cabinets?
A: Semi-gloss or satin are the most practical choices for kitchen cabinets. Both sheens are easier to wipe clean than flat or eggshell. Semi-gloss offers slightly more durability and moisture resistance, making it a solid choice near the sink or stove. If you’re exploring color ideas beyond the kitchen, browsing blue exterior paint colors for homes in glastonbury ct can offer useful perspective on how sheen interacts with color in different lighting conditions.
The Bottom Line on How to Paint Kitchen Cabinets
How to paint kitchen cabinets successfully comes down to three things: thorough prep, the right materials, and patience between coats. Cut corners on any of these and the results will show within months.
If your kitchen cabinets need more attention than a DIY refresh can realistically provide, professional cabinet painting can save you the time, mess, and trial and error that often comes with refinishing them yourself. An experienced painter can handle the cleaning, sanding, priming, and finishing process with the right products and techniques for a smoother, longer-lasting result.
For homeowners in Glastonbury, CT, a professionally painted cabinet finish can update the look of your kitchen without the cost or disruption of replacing otherwise functional cabinetry.
Ready to give your kitchen cabinets a cleaner, more durable finish? Contact our team to discuss your project and get a personalized estimate.