- Free Estimates

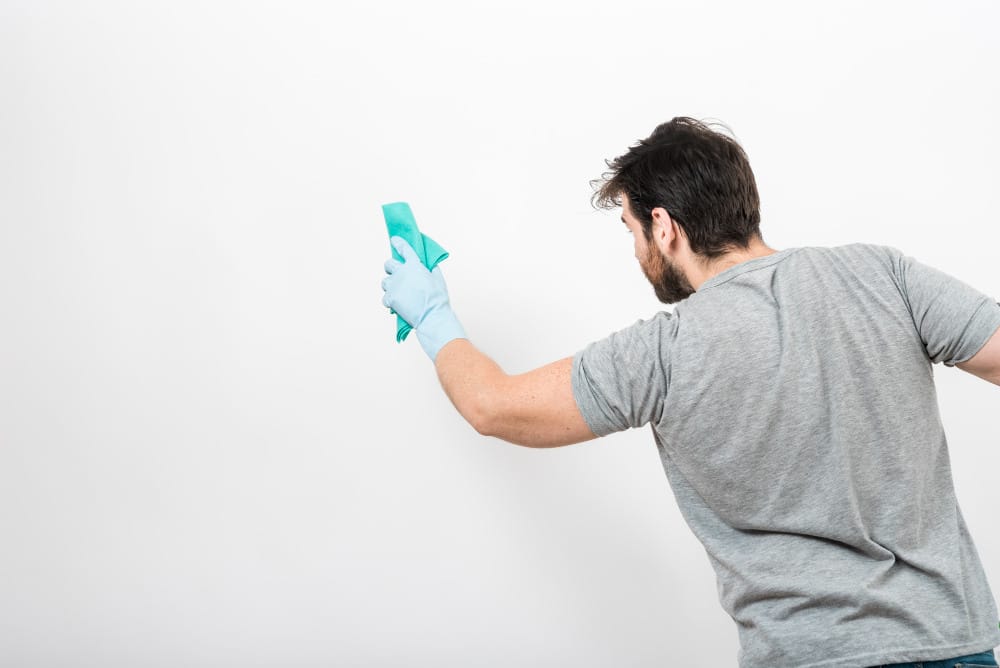
Preparing walls properly before painting is the key to achieving a smooth, professional finish that lasts. Dirt, grease, and residue can prevent paint from adhering correctly, leading to peeling, uneven coverage, and poor durability over time. Cleaning walls before painting not only improves paint adhesion but also enhances color vibrancy and surface smoothness, ensuring a flawless result.
Here are five essential steps to clean and prep walls effectively before applying fresh paint.
✔ Cleaning walls before painting improves paint adhesion and ensures a smooth, even finish.
✔ Removing dirt and grime before painting prevents streaks, peeling, and uneven coverage.
✔ Sanding walls before painting smooths out imperfections and helps paint bond better.
✔ Repairing holes and cracks creates a consistent surface for flawless paint application.
✔ Testing wall cleanliness before painting ensures that no dust, grease, or residue remains.
✔ Choosing the right cleaning solution based on wall type prevents damage and improves paint durability.
✔ Priming walls after cleaning and sanding enhances color accuracy and paint longevity
Cleaning walls before painting is the first and most important step to ensure a smooth, long-lasting finish. Dirt, dust, and grime can create a barrier that prevents paint from sticking properly. Removing dirt and grime before painting helps create an even surface and improves paint durability.
After cleaning walls before painting, it’s essential to fix any surface imperfections. Cracks, holes, and dents can cause paint to settle unevenly, leading to a rough or patchy finish. Repairing these flaws ensures a smoother, more professional look and helps paint adhere better.
Sanding walls before painting helps create a surface that allows paint to stick evenly. Even if the wall feels smooth, tiny imperfections and leftover residue from previous paint jobs can cause streaks and rough patches. Proper sanding creates a consistent surface and helps prevent peeling or cracking.

Protecting floors, trim, and adjacent surfaces is essential when preparing walls for paint. Paint splatters and drips can be difficult to remove once dried, so taking the time to cover surfaces properly prevents damage and cleanup headaches.
Priming creates a clean, consistent surface that helps paint adhere evenly. Even when cleaning walls before painting, bare drywall or patched areas can absorb paint unevenly without a primer. Using a primer also helps paint colors appear more vibrant and true to shade.
Choosing the correct cleaning solution is essential for effective wall preparation before painting. Different wall materials react differently to cleaning agents, so using the wrong product can cause damage or poor paint adhesion. Understanding which solutions work best for each type of wall ensures a clean, smooth surface that’s ready for fresh paint.
Painted drywall is sensitive to harsh chemicals, so a mild detergent and warm water solution is ideal. Mix a few drops of dish soap in a bucket of warm water and use a soft sponge to gently wipe down the walls. For stubborn stains, a baking soda paste (made with water) can help lift marks without damaging the paint.
Plaster is more delicate than drywall and can absorb moisture, so avoid oversaturation. A mixture of vinegar and water (1:1 ratio) works well for cutting through dirt and mild stains. Use a damp—not wet—sponge to apply the solution, and dry the wall with a clean towel to prevent moisture damage.
Understanding when to use washing vs. dry dusting walls before painting can save time and improve results. Textured walls tend to collect more dirt and dust in crevices. A soft brush or vacuum with a brush attachment works well for dry dusting. For deeper cleaning, use a mild detergent solution and a sponge with a light scrubbing motion, ensuring that the cleaner reaches into the textured areas without damaging the pattern.
Concrete walls can handle stronger cleaning agents, but acidic cleaners should be avoided as they can degrade the surface. A solution of warm water and trisodium phosphate (TSP) is highly effective for removing dirt and grease from concrete. Apply with a stiff brush, scrub gently, and rinse thoroughly with clean water to remove any residue.
Wood paneling requires a gentle touch to prevent warping or discoloration. A mild wood soap mixed with warm water is the safest option. Clean with a soft cloth, following the direction of the wood grain, and immediately dry the surface with a clean towel to prevent water absorption.

Addressing wall texture and surface consistency is crucial for achieving a professional-looking paint job. Uneven surfaces, rough patches, and varying textures can cause paint to settle unevenly and create a patchy or bumpy finish. Smoothing out these imperfections ensures a uniform surface that allows paint to adhere evenly and look flawless.
Washing vs. dry dusting walls before painting also depends on the type of paint and wall finish. Rough patches from previous paint jobs, drywall seams, or uneven plaster can make the surface look uneven after painting. Sanding walls before painting with fine-grit sandpaper (120- to 220-grit) helps level out these imperfections. Work in a circular motion and clean off dust afterward to create a smooth base for paint.
A skim coat helps cover imperfections and creates a smooth, even surface. Mix joint compound to a creamy consistency and apply a thin layer with a drywall knife, spreading it evenly across the wall. Let it dry completely before sanding lightly to remove any ridges or uneven spots.
Small dents, nail holes, and cracks can create texture inconsistencies. Use spackle or joint compound to fill these imperfections, applying it with a putty knife. Once dry, sand the area lightly to blend it into the surrounding wall and create a seamless finish.
Color is more than just decoration—it influences mood, signals action, and even affects physiological responses, which is why achieving consistent color is essential. Textured walls tend to absorb paint unevenly, causing color variation and poor coverage, but using a high-quality primer helps seal the texture and create a smooth, uniform base for paint. Apply with a roller using light, even pressure to avoid pushing the primer too deeply into the textured areas.
Popcorn ceilings and heavy textures can make walls look outdated and difficult to paint. To remove popcorn texture, spray it with water and gently scrape it off with a putty knife. For heavy wall texture, sanding or applying a skim coat can help smooth out the surface before painting.
Ensuring that walls are clean before painting is essential for proper paint adhesion and a smooth finish, especially as the home improvement market grew by 26% in 2023, reaching $475 billion. Even small amounts of dust, grease, or residue can interfere with how paint bonds to the surface, leading to streaks, peeling, or uneven coverage. Testing wall cleanliness helps identify any hidden dirt or contaminants that need to be addressed before applying paint.
To check for surface dust and dirt, wipe the wall with a clean white cloth or paper towel. If the cloth picks up dirt or dust, the wall needs further cleaning before painting. Repeat the test in different areas of the wall to ensure all surfaces are properly cleaned.
Lightly mist the wall with water and observe how it reacts. If the water beads up or runs down unevenly, there may be leftover grease or residue on the wall. Clean the wall with a mild degreaser or soap solution and retest to ensure the surface is properly prepared.
Run a hand over the wall to feel for any tacky or sticky areas. Sticky spots can indicate leftover cleaning residue, grease, or adhesive. Wipe down these areas with a mixture of warm water and vinegar, then dry with a clean cloth to remove any remaining residue.
Place a strip of painter’s tape on the wall and press it down firmly. Pull it off quickly—if dust, paint chips, or debris stick to the tape, the wall is not clean enough for painting. Wash and sand the surface if necessary before testing again.
Rub a small section of the wall with your hand or a clean cloth. If smudges or discoloration appear, there may be lingering grease or dirt. Clean the affected area with a mild detergent solution and let it dry before proceeding with paint application.
Walls should dry for at least 24 hours after cleaning before applying paint. If the walls were washed with a damp cloth or cleaning solution, make sure they feel completely dry to the touch. Painting over damp surfaces can lead to poor adhesion and uneven coverage, so allowing proper drying time is essential when cleaning walls before painting.
Yes, cleaning walls before painting can improve color accuracy and vibrancy. Dirt and grime can cause paint to appear dull or uneven, so removing dirt and grime before painting allows the true color to show. Using a primer after cleaning can also help paint appear more consistent and rich in tone.
Even if walls look clean, dust, oils, and residue from hands or household activity can create a thin, invisible film. This can prevent paint from adhering properly and cause streaking or peeling over time. Aside from scrubbing walls before applying fresh paint, a quick washing or dry dusting helps create a clean surface for better paint performance.
Yes, textured walls require more attention because dirt and dust settle into crevices. Dry dusting with a soft brush or vacuum is ideal for textured surfaces, followed by washing with a mild detergent if needed. Scrubbing walls before applying fresh paint ensures that dirt trapped in textured surfaces won’t interfere with paint adhesion.
Yes, high humidity can slow down drying time after washing walls before painting. Moisture left on the walls can interfere with paint adhesion and lead to bubbling or peeling. To avoid this, use fans or dehumidifiers to speed up drying and ensure the walls are completely dry before painting.
Elevate your home with the skilled touch of Glastonbury Professionals House Painters in Glastonbury, CT. From thorough wall preparation to precise application, our team ensures a smooth, even finish that lasts. With years of experience and a commitment to quality, we handle every project with care and professionalism.
Get in touch today to bring new life to your home in Glastonbury, CT, with expert painting services!