- Free Estimates
A painter’s tape is a handy house painting tool that can drastically affect how a paint job would look like. Unfortunately, many homeowners who got the DIY route don’t use this tool. As a result, their house painting project is a mediocre attempt at something that would’ve looked marvelous. Who would’ve thought that a simple roll of tape could mean a huge difference?
There’s a good reason why all house painters in Glastonbury, CT, always have painter’s tape in their arsenal. When used correctly, it could mean a professional-looking paint job or a sloppy one, depending on how a person uses it.
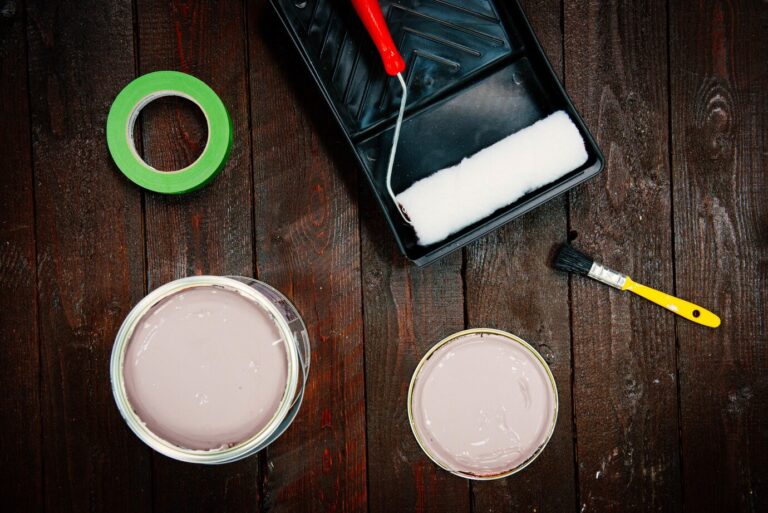
Before you embark on your house painting journey, you must know the correct type of tape for the job. And no, we’re not referring to masking tape. You’ll need something reliable enough to stick to the surface you’re trying to paint but at the same time will pull off easily, something like ScotchBlue or FrogTape. You’d best steer clear of cheaper brands because their low-quality adhesives can ruin the overall quality of your paint job.
Consider the type of surface you’ll be painting. Will you be working on a smooth surface? If so, pick the standard painter’s tape. However, if you’re painting delicate surfaces, it’s best to use tapes with low adhesive. Not only is it easier to remove, but it can also aid in protecting the finish. Lastly, choose extra-sticky tape if you’re painting popcorn ceilings or uneven surfaces.
These types of tapes are designed to stick into rough areas well.
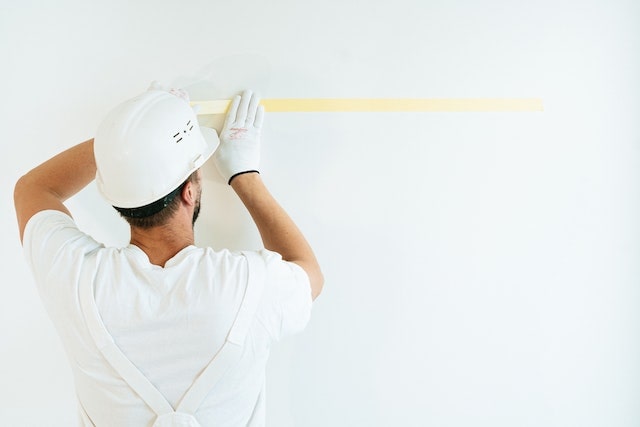
To apply painter’s tape the right way, you must first clean the surface you’re protecting (e.g.molding, walls, etc.) before using the tape. Doing so will improve the tape’s adhesion and create fewer spots for the paint to stick to. Apply tape strips with a length of 18 to 24 inches as near the edge of the wall as possible. Do not cut the tape into smaller pieces because the paint will bleed less on tape with fewer seams; instead, use long strips. After applying the tape, remove creases and bubbles by patting it, or use a putty knife to smoothen the painter’s tape into position.
Once you notice that the paint is dry, you should remove the tape, especially if the paint is not coming with it as you peel it off.
If the paint has dried up, use a putty knife or a razor blade to score the tape’s edge and remove the seal.
This ensures a smooth and leveled line as you peel off the tape at a 45-degree angle to the wall.
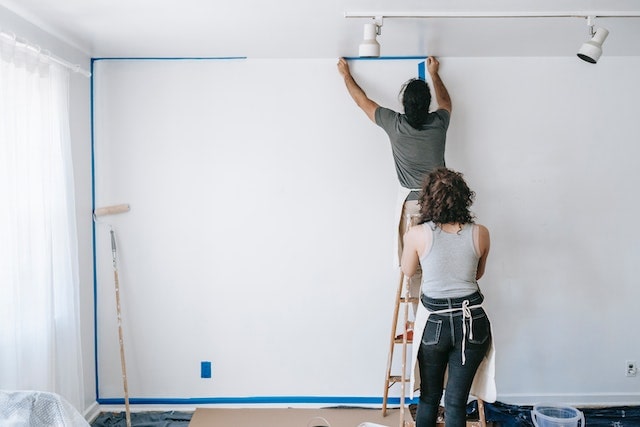
Most house painters in Glastonbury, CT, use painter’s tape to paint stripes on the wall. Think of it as a cost-effective and straightforward painting hack that can make your wall look unique and stylish. Follow these steps if you’re planning to use painter’s tape to put stylish stripes on your wall.
STEP 1. Decide how large you want the stripes to be. Afterward, measure the stripe with a pencil, and use a straight edge or any other alternative to draw a straight line from the floor to the ceiling.
STEP 2. Check if all the stripes have the same length and width from top to bottom. Redraw the lines as needed until you achieve a perfectly lined up pattern.
STEP 3. Apply the painter’s tape outside the lines.
STEP 4. Paint the base color along the tape’s edge. Once it’s dry, apply the second color.
STEP 5. Once you see that the first coat has dried, cover it with another coat of paint.
STEP 6. Wait until the paint dries up. Once it does, you can now remove the paint.
Can’t seem to figure out how to paint your home correctly? Let us do the hard work for you! Here at Glastonbury Professionals House Painters, we guarantee a satisfactory paint job at an affordable price. Contact us today to learn more about our house painting services!