
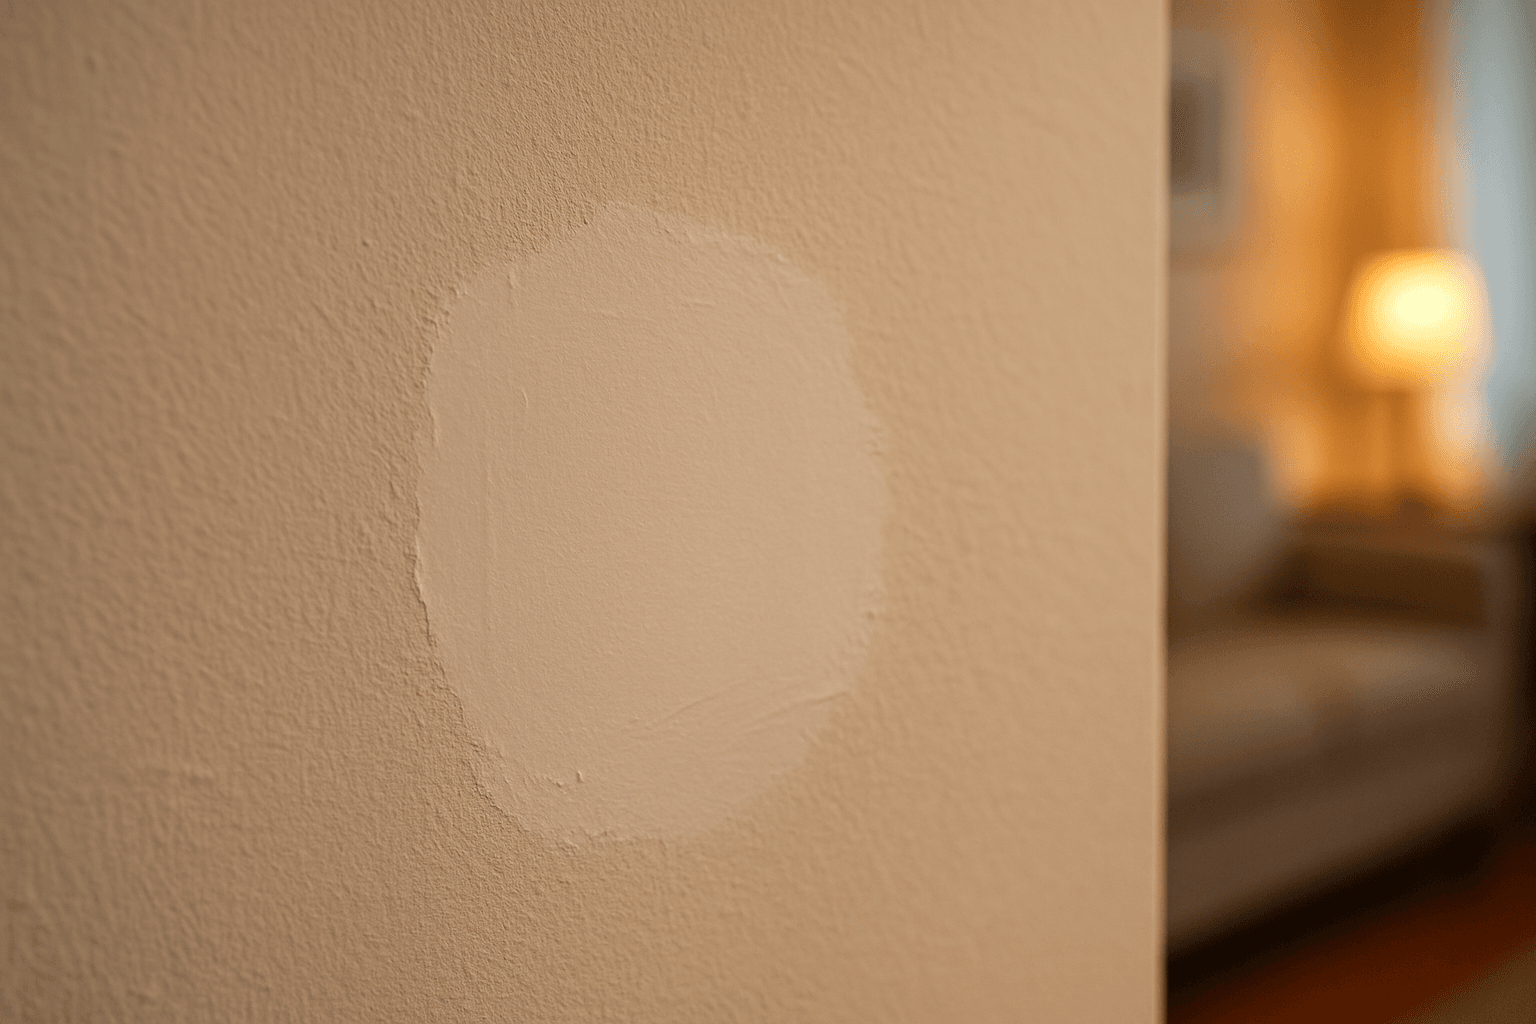
Knowing how to touch up paint on walls correctly can save you from redoing an entire room. While touching up paint sounds simple, a botched patch job often looks worse than the original scuff. Done right, your touch-up blends seamlessly with the surrounding surface and saves significant time and effort.
Table of Contents
- Why Touch-Ups Go Wrong
- Gathering the Right Supplies for Touch-Up Paint
- Preparing the Wall Surface Before Touch-Ups
- Applying the Touch-Up Paint Step by Step
- Color Matching Old Paint for Flawless Touch-Ups
- When Touch-Up Paint Is Not Enough
According to OpenBrand (2024), 66% of paint purchases were for touch-ups or smaller projects involving one gallon or less. This trend has continued climbing over four years. The data tells you two important things: homeowners tackle touch-up painting frequently, and most handle it themselves.
Additionally, the American Housing Survey (U.S. Census Bureau, 2022) found that homeowners in the United States completed approximately 53 million DIY projects that year. These projects accounted for 39% of all home improvement endeavors. Painting and patching fall squarely in that category.
However, DIY confidence does not always translate to DIY results. Learning how to touch up paint on walls properly requires understanding why patches fail first. Then you work through a deliberate process to avoid those pitfalls.
Why Touch-Ups Go Wrong
Most touch-up failures come down to three main culprits: sheen mismatch, color drift, and application technique.
Sheen mismatch occurs when fresh paint has a different light-reflective quality than the aged coat. Even if the color is identical, a new dab of semi-gloss on a wall that has cured and dulled over two years will catch light differently. The result stands out noticeably.
Color drift is the natural aging of paint over time. Pigments fade gradually, walls yellow slightly, and ambient light conditions shift subtly over months and years. The color you mixed three years ago may look noticeably different today. This happens even if you use the exact same formula.
Application technique is where most homeowners stumble. Dabbing paint directly onto a spot with a small brush rarely works. The edges of the patch need to feather outward carefully. Moreover, the texture must match the rest of the wall.
Understanding these three failure points is the foundation of learning how to touch up paint on walls effectively.
Gathering the Right Supplies for Touch-Up Paint
Before you open a single can, collect everything you need. Scrambling mid-project leads to rushed decisions and poor results.
You will need:
- The original paint (or a freshly matched batch)
- A small synthetic-bristle brush (1 to 2 inches wide) for flat and eggshell finishes
- A small foam roller (4-inch) for smoother, more even coverage on larger patches
- Fine-grit sandpaper (120 to 220 grit)
- Spackling compound or lightweight joint compound for any holes or gouges
- A putty knife
- Clean rags or paper towels
- Painter’s tape (optional, for crisp edges near trim)
- A small tray or palette for loading the brush
If you are tackling a broader project in the same space, related skills help. For example, understanding how to paint kitchen cabinets uses similar prep and blending principles. The surfaces differ, but the fundamental techniques overlap.
Preparing the Wall Surface Before Touch-Ups
Preparation is where most DIYers underinvest. The results clearly show this skipped step.
Step 1: Clean the area. Grease, dust, and soap residue prevent paint from adhering properly. Wipe the damaged area with a damp cloth and mild cleaning solution. Then let it dry completely. This single step alone solves a surprising number of adhesion problems.
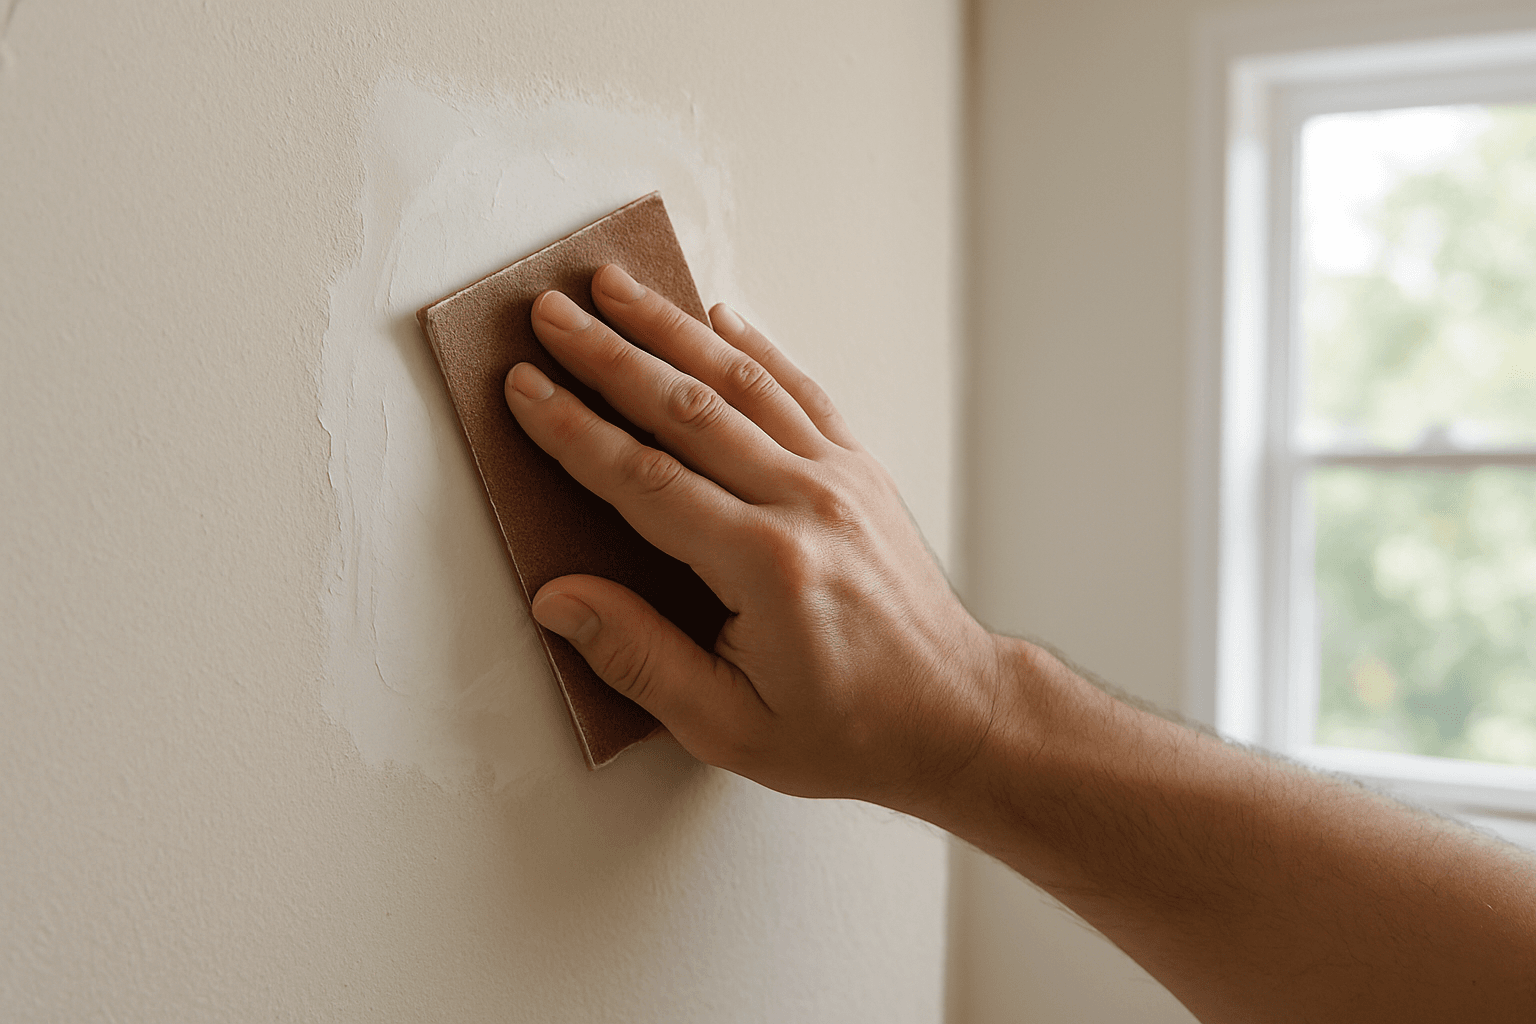
Step 2: Repair the damage. For nail holes or small dents, apply a thin layer of spackling compound with a putty knife. Let it dry according to manufacturer directions. Then sand it flush with the surrounding wall using 220-grit sandpaper. For larger holes, you may need a patch kit or drywall compound. This adds a step but remains manageable for most homeowners.
Step 3: Sand lightly. Even without a hole, lightly scuff a glossy or semi-gloss surface with 120-grit sandpaper. This gives new paint something to grip. Skip this on matte or flat finishes since they accept paint more readily.
Step 4: Wipe away dust. A tack cloth or barely damp rag removes sanding particles before you paint. This step proves especially important when dealing with surfaces like how to paint over wallpaper. Surface contamination there can affect adhesion even more critically. Painting over dust creates a gritty texture that catches the eye immediately.
Applying the Touch-Up Paint Step by Step
With the surface prepped, you are ready to apply paint. Patience makes or breaks the outcome at this stage.
Load your brush lightly. Dip the brush about a third of the way into the paint. Then tap off the excess on the side of the can or tray. Too much paint on the brush causes one of the most common problems: visible drips and buildup at patch edges.
Feather the edges outward. Rather than painting just the damaged spot, extend your strokes about an inch or two beyond the repair area. Use light, outward strokes that thin out as they reach the original paint. This feathering technique helps new paint transition into the old coat instead of sitting on top as a visible blob.
Apply thin coats. Two thin coats almost always look better than one thick one. Let the first coat dry fully, which typically takes 30 to 60 minutes for latex paints under normal indoor conditions. Then evaluate whether a second coat is needed.
Use a small roller for larger patches. If your repair spans more than a few inches, a 4-inch foam roller produces more consistent texture than a brush. Roll lightly and avoid pressing hard at the edges. Hard pressure can create ridges that become obvious.
Step back and check your work under different light. View the patch from across the room, not six inches away. Furthermore, check it under natural light, overhead light, and lamp light. Each reveals different things. If the patch still looks obvious after full curing (give it 24 to 48 hours), you may need to address the color match.
Color Matching Old Paint for Flawless Touch-Ups
Color matching is often the trickiest part of learning how to touch up paint on walls. This proves especially true if years have passed since original application.
Start with the original paint. If you kept the leftover paint and stored it correctly in a sealed, temperature-stable environment, try using it first. Stir it thoroughly before applying. Pigments settle over time.
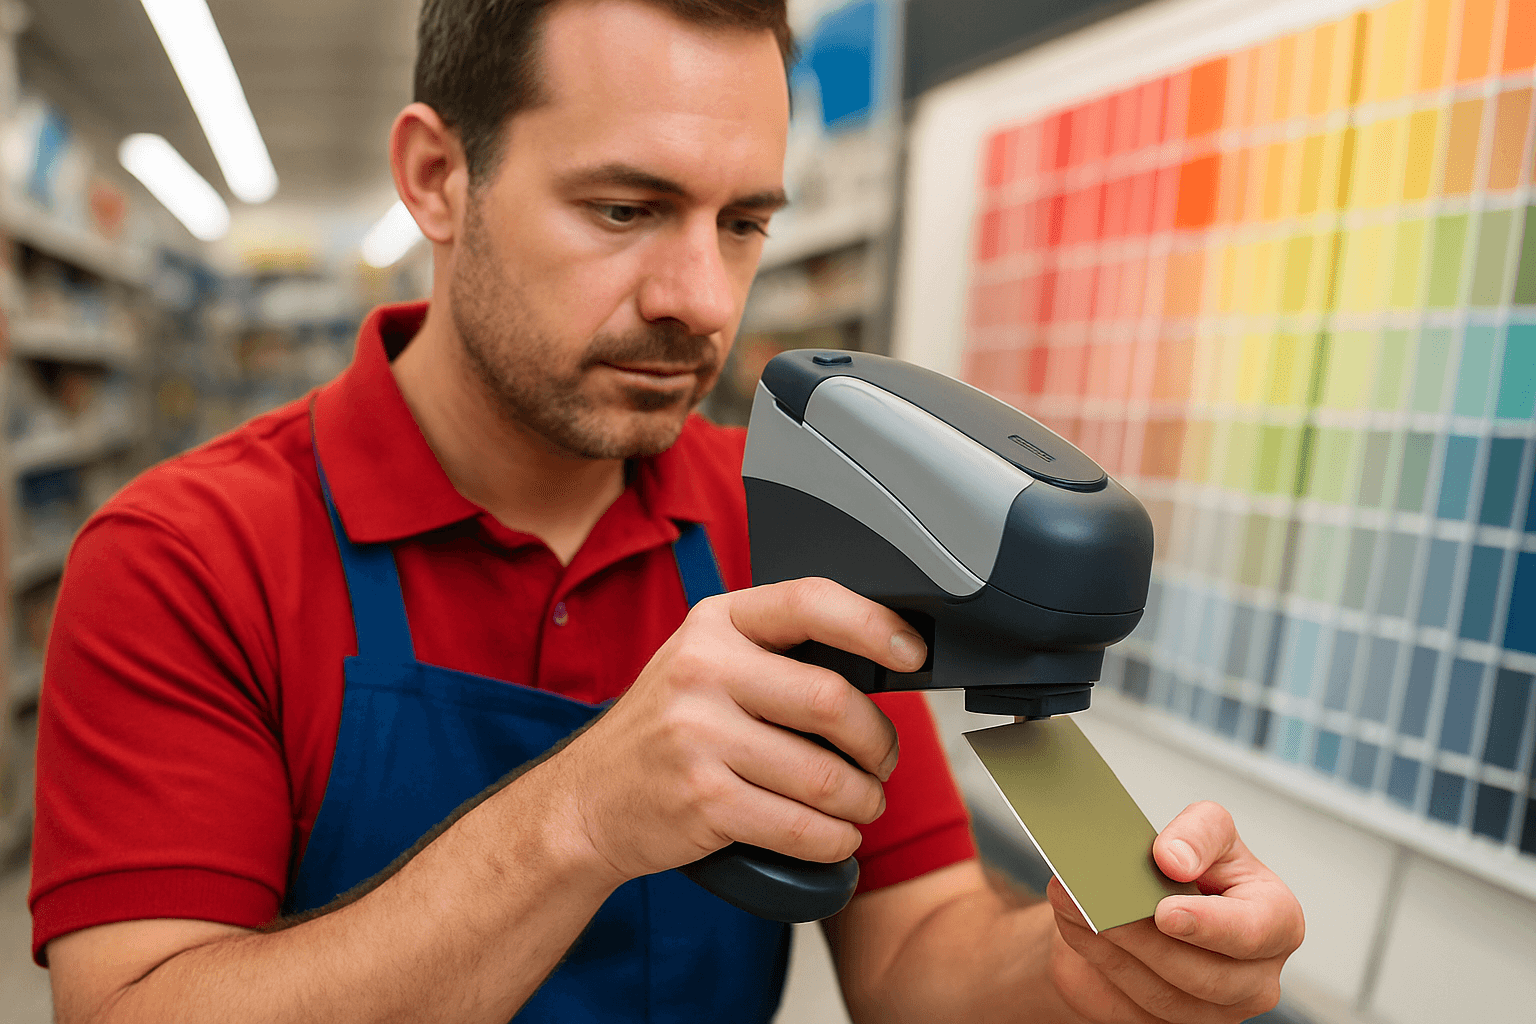
Use a paint chip or scan. Most major hardware stores, including Home Depot and Lowe’s, offer spectrophotometer scanning services. Bring in a paint chip, a piece of trim, or even a scrap of drywall with the original paint. The machine analyzes the color and generates a formula to mix a matching batch.
Account for sheen carefully. Always buy the same sheen level as the original coat. If you painted the walls in eggshell, buy eggshell for the touch-up. Matching color but mismatching sheen still produces a visible patch.
Test before committing. Paint a small test area and let it dry completely before judging the match. Wet paint always looks darker than dry paint. Evaluating it while wet leads to overcorrections that waste time and materials.
Consider the aging factor. If the walls are several years old, even a perfect color match may look too fresh. In that case, you have two options: touch up the entire wall (from corner to corner) so fresh paint is not isolated. Alternatively, accept a slight variation and repaint the full wall.
This is also a good moment to think bigger picture. If you are weighing a full repaint against multiple touch-ups, checking into the cost to paint interior of house helps you determine which approach makes more financial sense.
When Touch-Up Paint Is Not Enough
There are situations where patching and touching up simply will not produce a clean result. Knowing when to step back saves both time and money.
Large or uneven damage. If a section of drywall has been significantly gouged, water-damaged, or affected by mold, surface-level touch-up will not hold. The underlying issue needs addressing first. The wall may need full repair and repainting.
Severe color drift. If the original paint has faded heavily or yellowed, touching up only damaged areas makes fresh patches stand out more. They contrast sharply against the aged background. A full wall repaint is the cleaner solution.
Textured walls. Walls with orange-peel or knockdown texture require specific techniques to replicate the pattern before painting. Without matching the texture, the repair remains obvious. This applies even if the color is perfect.
Wallpaper complications. Walls originally covered with wallpaper and later painted behave unpredictably during touch-ups. If you are dealing with that surface type, reviewing guidance on how to paint over wallpaper is useful before adding new paint.
In these cases, professional help may be worth the investment. According to VanderKolk Painting (2025), 29% of homeowners hired professionals for painting needs in 2025. DIY projects remained the majority, yet sometimes scale or complexity justifies professional investment.
Speaking of investment, if your touch-up situation has escalated to thinking about your home’s exterior, looking into the cost to paint exterior of house gives you a realistic benchmark. You can request quotes with confidence once you understand current pricing.
BEHR PRO noted in their 2024 industry outlook that “touch-up is an art form in the paint industry.” That framing rings true in practice. The gap between a patch that disappears into the wall and one that announces itself across a room often comes down to three factors: prep quality, patience with dry times, and honest assessment of whether the problem is fixable at the surface level.
Book Your Free Estimate with Glastonbury Professionals House Painters
If your walls are past the point of a DIY fix, our team is ready to help. Perhaps you want the job done right the first time. Glastonbury Professionals House Painters has served Hartford County homeowners for over 20 years. Our licensed, insured, and bonded crews handle interior painting, exterior painting, deck and fence staining, and home remodeling and repair.
Stop guessing whether a touch-up will hold. Get a professional assessment instead. Request a free estimate today and discover exactly what it would take to get your walls looking their best. Contact us now and we will walk you through the options. There is no pressure and no obligation involved.
Things to Know
- Sheen level matters as much as color. A perfect color match on the wrong sheen—such as flat paint over an eggshell wall—creates a visible patch. The two surfaces reflect light differently.
- Paint stored in a garage may be unusable. Latex paint exposed to freezing temperatures loses its binding properties. It will not apply or cure correctly, even if it looks fine in the can.
- Dry time and cure time are not the same thing. Paint may feel dry to the touch in an hour. However, full cure can take several days to two weeks. Touching or washing a freshly touched-up area too soon pulls the paint right off.
- Humidity affects adhesion and drying. High humidity slows drying and can cause paint to sag or bubble. Ideal indoor conditions for painting are between 50°F and 85°F with relative humidity below 85%.
- Testing the patch in multiple lighting conditions before calling it done saves you from redoing the work. A patch invisible under overhead lighting may stand out sharply near a window in natural light.
- Stirring, not shaking, is the right approach. Shaking a paint can introduces air bubbles that show up as tiny pits in your finished surface. Always stir paint slowly and thoroughly before use.
Get a Professional Eye on Your Walls Before You Paint
If your walls have more than a few small patches, professional assessment is time well spent. Patchwork spots from previous touch-up attempts indicate a bigger issue than spot repairs can solve. Glastonbury Professionals House Painters has been helping Hartford County homeowners solve exactly these problems for over 20 years.
We can tell you quickly whether a targeted touch-up or full repaint is the smarter investment. Request a free estimate today and get clear, honest answers from a licensed, insured, and bonded team. We have seen every wall condition imaginable. Reach out now and we will schedule your no-obligation walkthrough at a time that works for you.
Frequently Asked Questions
Q: How long should I wait before touching up paint on a newly painted wall?
Wait at least 30 days after the original paint job before doing any touch-ups.
Fresh latex paint takes several weeks to fully cure and harden. It feels dry within hours, but full curing takes longer. Touching up a wall that has not fully cured causes new application to bond unevenly. The result is a patch that looks different in texture and sheen from the surrounding surface.
Q: Why does my touch-up paint look darker than the rest of the wall?
The most likely cause is comparing wet touch-up paint to fully cured, aged wall paint.
Wet paint always appears darker than dry paint. Wait at least 24 hours before judging the color match. If the patch still looks darker after drying, the original paint has likely faded. Your stored paint no longer matches the current wall color. A fresh color scan at a hardware store can help you get a closer match.
Q: Can I touch up paint with a different brand than what was originally used?
Yes, you can use a different brand as long as the paint type, sheen, and color formula are matched correctly.
Different manufacturers use slightly different pigment bases. Even an identical color code can produce subtle variation between brands. Whenever possible, stick with the original brand. If that is not an option, have the new brand match your color using a spectrophotometer scan. Test it on a small, inconspicuous area first before committing to the full repair.
Q: How do I touch up paint on a textured wall without it looking obvious?
You need to recreate the wall texture before applying paint, otherwise the patched area will look flat and stand out regardless of color match.
For light orange-peel texture, a light spray from a texture aerosol can replicate the pattern well enough for small repairs. For heavier knockdown texture, apply a thin layer of joint compound with a sponge or crumpled plastic bag. This approximates the original look. Practice the technique on cardboard first, and always prime the textured patch before painting.
Q: Is it better to touch up just the damaged spot or repaint the entire wall?
For small, isolated damage on a recently painted wall, a spot touch-up is usually sufficient. For older walls with significant fading or multiple damage areas, repainting the full wall from corner to corner produces a cleaner result.
A full wall repaint eliminates the color drift problem entirely. Fresh paint covers the entire surface uniformly. The decision often comes down to how old the original paint is and how noticeable existing color drift has become. If you are on the fence, a professional painter can evaluate the wall condition and provide an honest recommendation based on what they see.