- Free Estimates
Painting the interior of your home is one of the most cost-effective ways to refresh your living space. However, without proper planning and execution, this seemingly simple task can lead to costly mistakes.
Here’s the step-by-step interior house painting process, ensuring a flawless finish and long-lasting results.
Key Takeaways✔ Plan thoroughly before starting. Define scope, choose colors, and calculate paint needs to avoid costly delays or shortages. ✔ Choose quality materials. Select the right paint type, finish, and tools to ensure a professional, durable result. ✔ Prep surfaces properly. Clean, repair, tape, and prime to ensure smooth adhesion and even coverage. ✔ Protect surrounding areas. Use tape, plastic, and masking to shield trim, fixtures, and adjacent spaces from splatter. ✔ Safeguard furniture and floors. Move items, use canvas drop cloths, and create a clean work zone to prevent damage. ✔ Use the right painting techniques. Cut in carefully, roll with control, and maintain a wet edge for a smooth, streak-free finish. ✔ Respect drying times. Follow product guidelines and environmental conditions to allow for proper curing and recoating. ✔ Inspect and touch up the work. Check under various lighting, correct flaws, and clean up to complete the job professionally. |
A well-organized plan is essential for a smooth and efficient interior house painting process. Thorough planning builds the framework for a dependable step-by-step interior painting guide, helping you stay on budget, on time, and on track.
Determine which rooms need painting and rank them by importance, traffic level, and visibility to prioritize your workflow.
Set a schedule that factors in room usage, drying times, and any potential delays to ensure a manageable pace without disrupting your routine.
Use paint samples to test colors under various lighting conditions and select finishes that match each room’s purpose and durability requirements. Warm neutral colors are the top recommendation from professionals for interior spaces when selling a home, with 81% favoring them to attract buyers.
Measure each wall’s square footage and account for ceilings, doors, and window trim to avoid overbuying or running out mid-project.
Homes built before 1978 may contain lead paint, requiring EPA-approved testing kits or professional assistance before proceeding.
Quality materials are the foundation of a successful interior house painting process, directly influencing how the final result looks and lasts. The U.S. House Painting & Decorating Contractors industry is projected to reach a market size of $24.2 billion in 2025, reflecting the growing demand for professional results and high-quality finishes.
As part of proper house painting preparation and execution, latex paints are user-friendly, low in odor, and quick-drying, while oil-based paints provide superior durability and a smooth finish but take longer to dry.
Use flat for low-traffic areas, eggshell or satin for general living spaces, and semi-gloss or gloss for bathrooms, kitchens, and trim to match wear and moisture resistance.
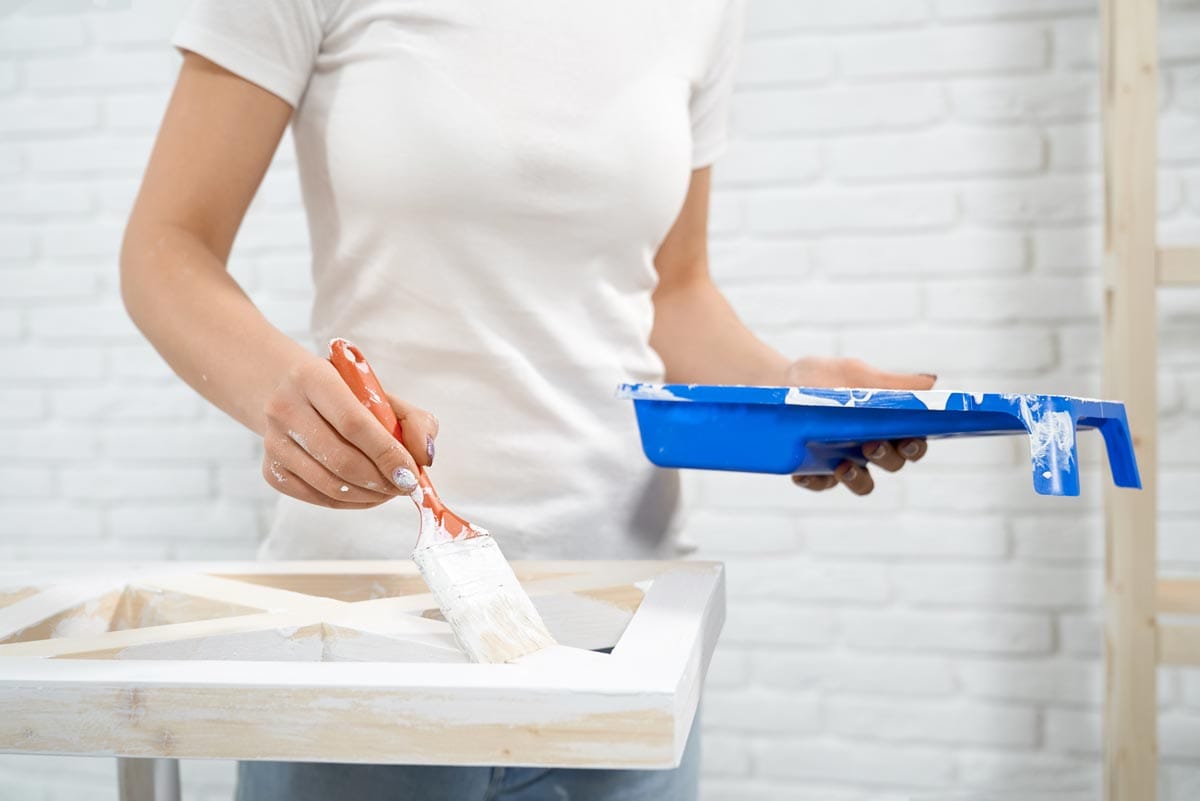
Good brushes prevent streaks, and rollers with the correct nap ensure smooth coverage, whether you’re working on drywall or textured surfaces.
Painter’s tape, drop cloths, paint trays, stir sticks, extension poles, and a reliable ladder are essential for efficient work and a tidy space.
In rooms with limited ventilation or when using oil-based products, wear a respirator mask to avoid inhaling fumes and ensure safety.
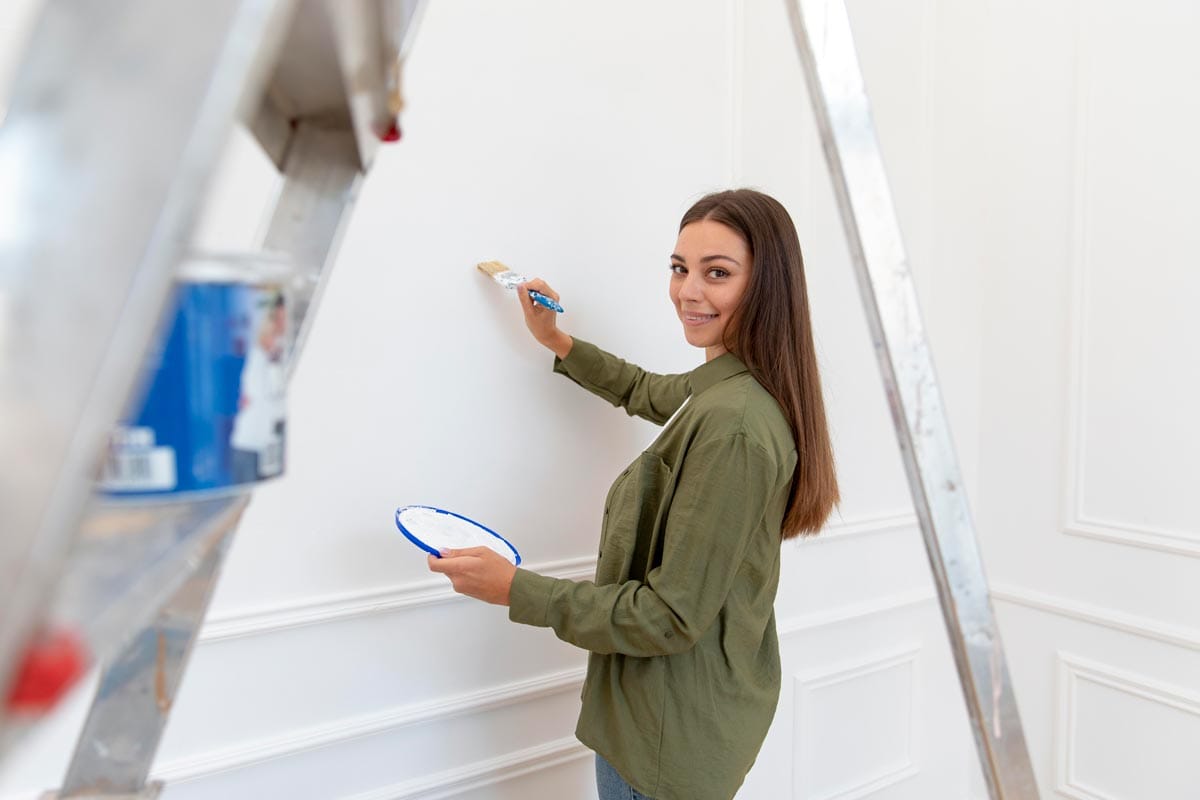
Proper preparation is a non-negotiable step in the interior house painting process, affecting everything from paint adhesion to the final appearance.
Remove all wall decor, unplug electronics, and move furniture out or to the center, covering items with plastic to prevent splatters.
Wipe walls with mild detergent and warm water to remove dust, grease, and stains, then rinse with clean water and let dry completely before painting.
Patch holes and cracks with spackle, sand down rough spots, and smooth surfaces for an even finish that won’t highlight flaws.
Taping off baseboards, trim, and outlets creates sharp lines and shields adjacent surfaces from accidental brush or roller marks.
Priming is essential for bare drywall, stained surfaces, or dramatic color changes to promote uniform coverage and strong adhesion.
In the interior house painting process, it’s not just about painting walls—it’s also about ensuring paint only goes where it’s intended. Taking the time to protect surrounding surfaces helps your step-by-step interior painting guide stay efficient and mess-free, minimizing rework and damage.
As part of effective house painting preparation and execution, line tape along baseboards, crown molding, window frames, and door trim to create sharp, clean edges and reduce time spent on cleanup.
Unscrew outlet covers and switch plates, and cover remaining fixtures with painter’s tape or small plastic bags to prevent paint splatter from damaging or discoloring them.
Use plastic or masking paper to shield non-removable elements like cabinets, shelves, or fireplaces to avoid accidental brush strokes or roller flicks.
Hang plastic across doorways and vents to keep paint dust and fumes contained, especially when working with solvent-based products or sanding between coats.
As you remove knobs, curtain rods, or light switch covers, label and bag them for easy reinstallation and to prevent losing small parts.
Protecting furniture and floors before painting is essential for maintaining the integrity of your home and avoiding costly mishaps. By protecting furniture and floors before painting, you reduce the risk of permanent damage and simplify the cleanup process after the job is done.
Relocate couches, tables, and cabinets whenever possible to eliminate obstacles and reduce the chance of accidental paint transfer.
Group remaining items in the room’s center and cover them with a thick plastic sheeting or cloth to shield them from splatters and sanding dust.
Choose canvas over plastic for floors because it stays in place better and absorbs drips, offering safer footing during the job.
Secure clothes around the perimeter with painter’s tape to prevent shifting or exposing uncovered areas while moving ladders or stepping over materials.
Set up a designated “paint zone” using cardboard sheets to catch spills from rollers, brushes, and trays during the interior house painting process.
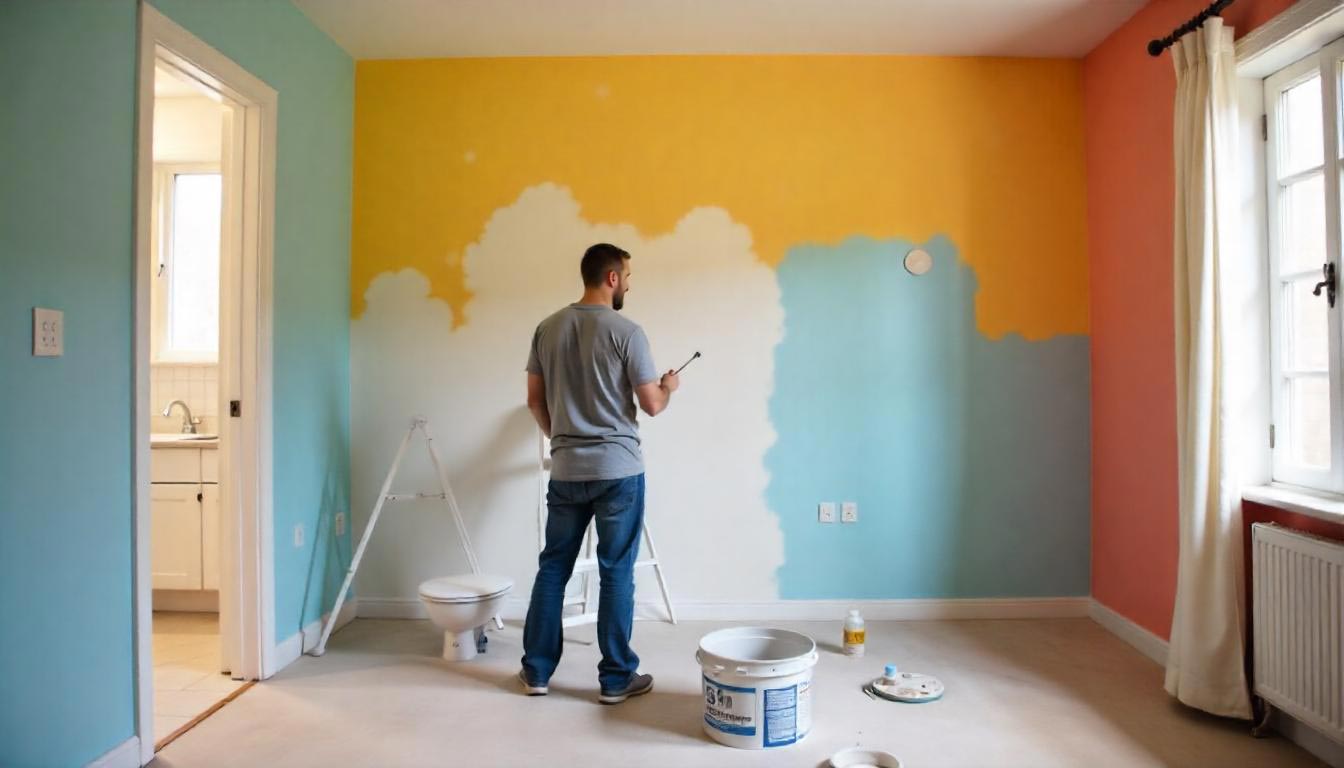
Precision and consistency in paint application define the quality of the final result. These proven interior wall painting techniques can elevate your outcome. Perfecting these interior wall painting techniques is key to a polished, professional-grade finish—one that makes your effort truly worthwhile.
Use an angled brush to paint a 2–3 inch border around ceilings, trim, and corners where rollers can’t reach, ensuring full coverage and a crisp transition line.
Start by forming a large “W” on the wall with the roller, then fill in the pattern without lifting the roller to evenly distribute paint and avoid heavy buildup.
Divide the wall into manageable 4’x4’ areas, finishing one section before moving to the next to maintain evenness and prevent visible roller marks.
Overlap slightly into the previous section while the paint is still wet to blend seamlessly and avoid lap lines or uneven texture.
Even with high-quality paint, a second coat ensures uniformity, richness of color, and long-term durability, especially over primed or repaired areas.
Rushing this step can ruin an otherwise well-executed job. Proper timing is a vital part of any step-by-step interior painting guide, helping your finish cure correctly and last longer without cracking or peeling.
Every paint product has a specific drying and recoat interval listed on its label—typically between 2 to 4 hours for latex and 6 to 24 hours for oil-based paints.
High humidity or low temperatures can significantly slow drying times, while hot, dry air may cause premature skinning that traps moisture underneath.
Open windows and run fans to improve air circulation, but ensure they don’t stir up dust or debris that could stick to tacky surfaces.
Always keep a “wet edge” and blend fresh paint into still-wet areas to prevent color inconsistency and roller marks.
Thicker paint layers or dark pigments often require longer curing time before applying the next coat or touching up spots.
Gently touch an inconspicuous spot with a gloved finger. If the paint feels tacky or comes off, it needs more time.
Before calling your interior house painting process complete, take time to inspect and refine the work. This ensures professional-grade results and avoids minor flaws from becoming major eyesores.
Use both natural light and artificial lighting to reveal missed spots, roller streaks, or uneven coverage that may not be visible at a glance.
Look closely for bubbles, brush hairs, dust specks, or drips that can be gently scraped off and re-blended with a small brush.
Store a small container of labeled leftover paint to address any missed or damaged spots, using the same tool and technique for consistency.
Remove painter’s tape while the paint is slightly damp to prevent peeling or jagged edges—pull it back slowly at a 45-degree angle.
Once the paint has fully dried, reinstall outlet covers, curtain rods, and light fixtures without scratching or denting the fresh paint.
As a final step in house painting preparation and execution, wash brushes, rollers, and trays promptly if you intend to reuse them. Seal unused paint cans tightly and store them in a cool, dry place for future use.
Being aware of frequent DIY errors can greatly improve your interior house painting process. These missteps may seem minor, but they often lead to frustrating outcomes and costly do-overs. Avoiding these pitfalls enhances your step-by-step interior painting guide, leading to better durability, visual appeal, and overall satisfaction.
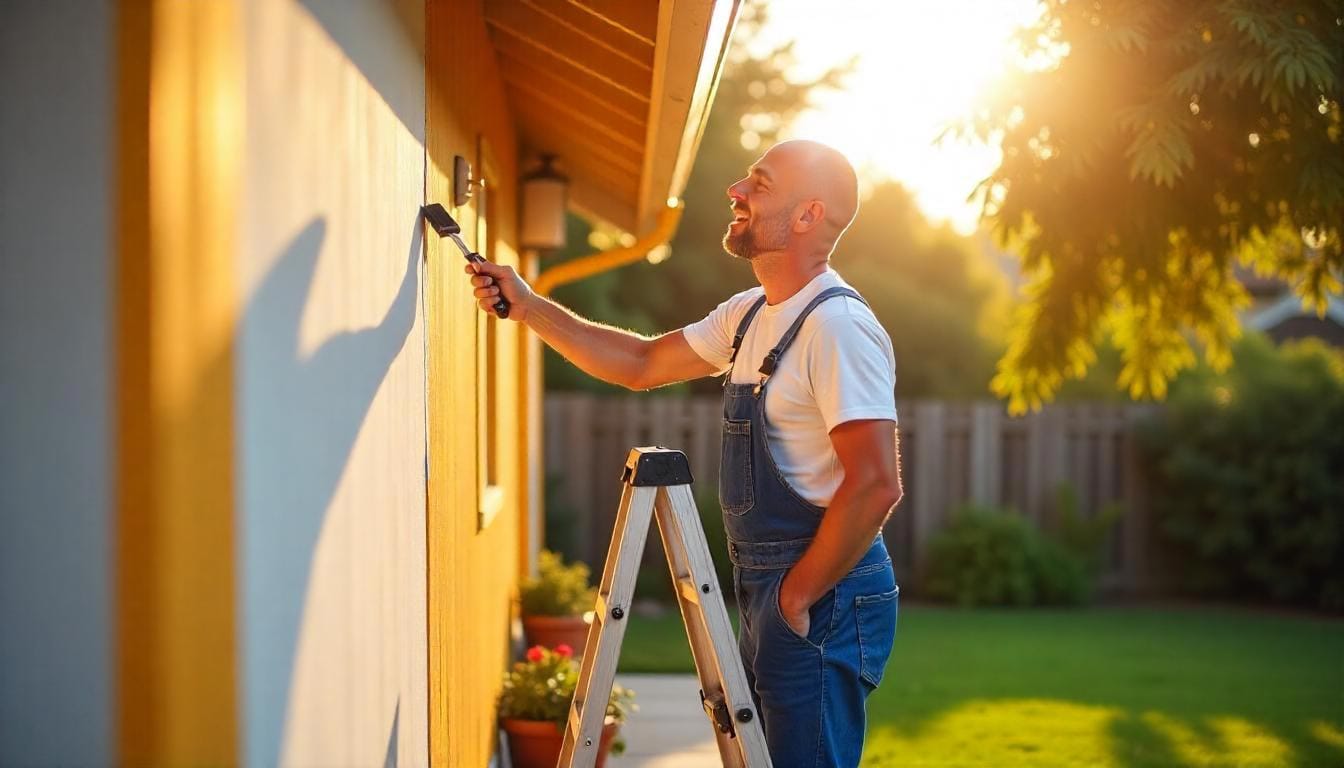
While DIY is rewarding, there are scenarios where hiring a professional in Glastonbury, CT, is the better—and safer—choice in your interior house painting process. Knowing when to hire an expert is a smart part of the interior house painting process. It ensures quality, efficiency, and peace of mind—especially for high-stakes or complex projects.
First, let the paint fully dry to avoid making the issue worse. Lightly sand down drips, roller marks, or uneven spots, then clean the area. Reapply primer if needed and touch up with the original paint using the same brush or roller for a seamless blend.
The best method starts with thorough surface preparation, including cleaning, repairing, and priming. Cut in edges with a quality brush before filling in larger areas with a roller using the “W” technique. Always maintain a wet edge to avoid lap marks and ensure smooth, even coverage.
Begin with the ceilings to prevent drips on finished walls. Next, paint the walls, followed by the trim, baseboards, doors, and window frames. This order ensures clean lines and minimizes the need for touch-ups on freshly painted surfaces.
Start by cleaning the walls to remove dust, grease, and debris. Lightly sand any glossy or uneven areas to help the new paint adhere properly. Apply a bonding primer if necessary, then follow with one to two coats of fresh paint.
Many DIY painters apply too much pressure or let the roller dry out, causing streaks and uneven textures. It’s important to use light, even pressure, and keep the roller consistently loaded with paint. Also, work in sections and overlap slightly to maintain a wet edge.
If you’re ready to skip the stress and get flawless, professional-grade results, trust Glastonbury Professionals House Painters to handle your next project. Serving Glastonbury, CT, with pride, our expert team offers more than just interior painting—we specialize in exterior house painting, deck staining and restoration, cabinet painting, and garage floor coating as well. Our commitment to detail and local expertise makes us the top choice for homeowners.
Contact Glastonbury Professionals House Painters today to schedule your free quote.