
Drywall repairs can look smooth before painting and still show through the final coat. Fresh joint compound is more porous than the surrounding painted surface, while sanding marks, raised edges, and dust can change how the finished wall reflects light. Learning how to prep drywall for painting helps prevent flashing, visible patch outlines, dull spots, and inconsistent sheen.
For homeowners in Glastonbury, CT, careful preparation matters whether the project involves repairing a nail hole, a damaged taped seam, or a larger section of drywall. The goal is not only to make the patch flat. The repaired section must also absorb primer and paint similarly to the surrounding wall.
Quick Facts
- Let the joint compound dry fully before sanding or priming.
- Feather patch edges so they blend into the surrounding wall surface.
- Remove all sanding dust because residue can weaken adhesion and leave a rough texture.
- Choose a primer based on the surface condition and product compatibility rather than relying solely on a “drywall primer” label.
- Check older painted surfaces for lead risks before sanding.
Why Patched Drywall Needs Special Preparation
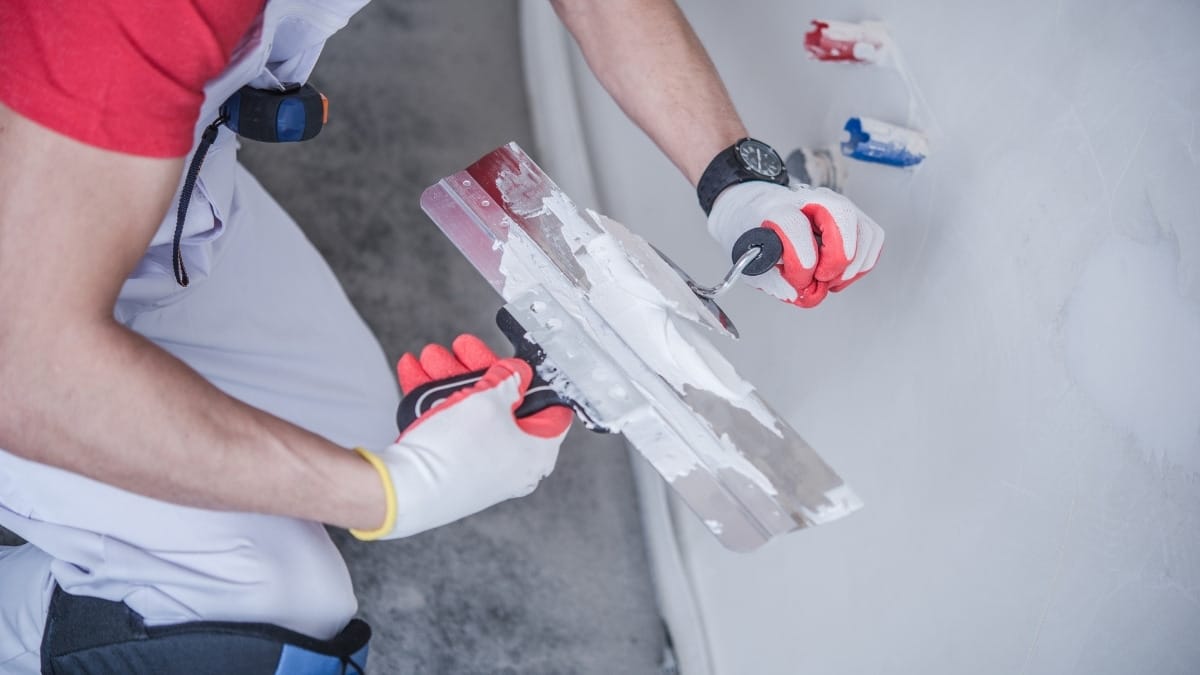
A repaired area may contain joint compound, exposed drywall face paper, and surrounding painted drywall. These surfaces absorb coatings differently. An appropriate primer can reduce differences in porosity, helping the finish appear more uniform.
Skipping preparation may leave a patch that looks acceptable when viewed directly but becomes obvious near a window or under ceiling lights. Eggshell, satin, and other higher-sheen finishes reveal texture changes more readily than flat paint.
How to Prep Drywall for Painting in 7 Steps
1. Confirm the Repair Is Dry and Stable
Do not sand damp joint compounds. Sanding it prematurely may tear the surface or clog the sandpaper, and the compound may continue to shrink after it is coated. Follow the compound manufacturer’s drying instructions because humidity, temperature, patch depth, and product type affect drying time. Confirm that the tape is secure and that the patch has no cracks or soft areas.
2. Remove Ridges Before Fine Sanding
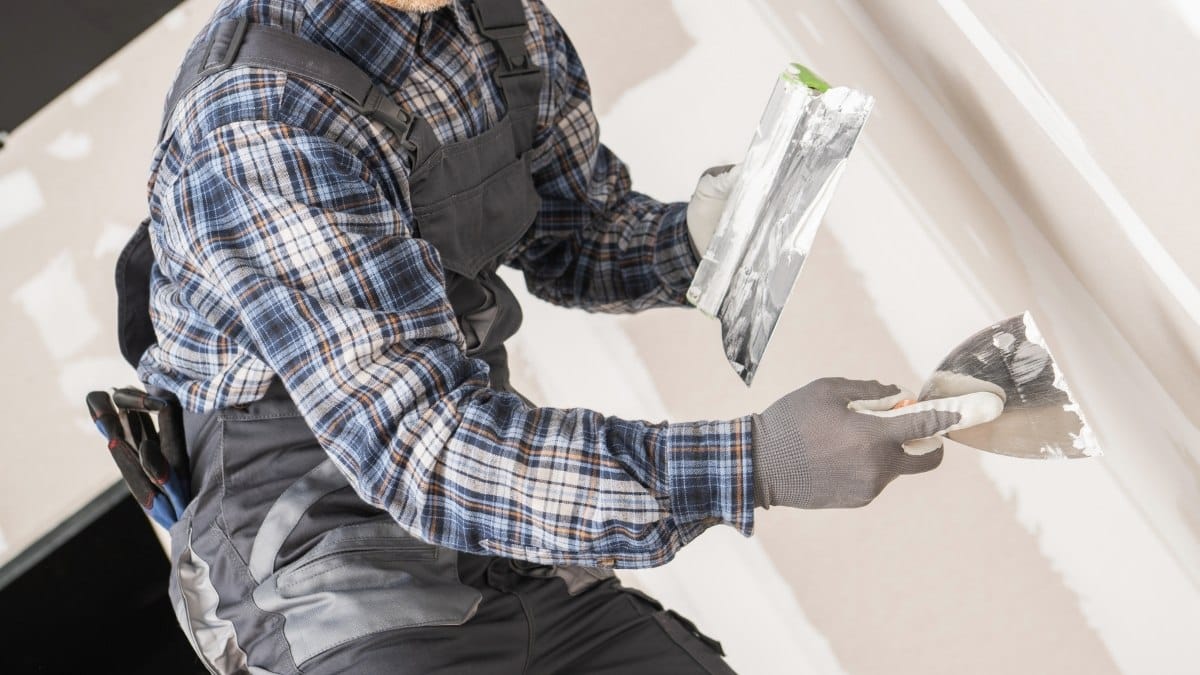
Use a clean taping knife to shave off hardened crumbs and obvious high spots. This reduces unnecessary sanding and protects the surrounding paint. Avoid cutting into drywall paper or gouging the repair.
3. Sand Smooth and Feather the Edges
Use light pressure with a fine sanding sponge or another suitable drywall abrasive. Smooth the center of the repair, then feather its perimeter into the surrounding wall. Run your hand across the surface to check for uneven areas. A raised patch will usually remain visible after painting.
Sand repaired areas, rough paint, drips, glossy spots, and defects that could affect adhesion or appearance.
4. Control and Remove Dust
Drywall dust settles in corners and collects on trim, floors, and repaired surfaces. Vacuum the area using equipment with appropriate filtration, then wipe the repaired surface according to the coating manufacturer’s directions. Do not soak exposed drywall paper or joint compound.
In one study, NIOSH found that five tested vacuum sanding controls reduced drywall dust exposure by 80% to 97% compared with traditional sanding. Dust control also helps prevent particles from becoming trapped in primer and paint.
5. Inspect With Side Lighting
Aim a portable light across the wall. Side lighting reveals pinholes, ridges, scratches, and low areas. Fill any remaining defects with a thin coat of compound, let it dry, then sand and clean again. This check is especially important on walls that receive daylight.
6. Choose the Correct Primer Strategy
Prime bare joint compound and exposed drywall before applying the finish paint. Spot priming may be sufficient for a small repair, but a full-wall primer coat can improve consistency when repairs are numerous, the new color differs substantially from the existing color, or the final paint has a noticeable sheen.
Some drywall primers can be used on previously painted walls, but product specifications vary. Basic PVA primers may be limited to new, uncoated drywall. Check the product label for substrate compatibility and topcoat restrictions. Glossy, stained, or otherwise difficult-to-paint surfaces may require a multipurpose, stain-blocking, or bonding primer.
7. Apply Finish Paint Consistently
After the primer dries, inspect the surface again. Correct any roughness, remove the remaining dust, and apply the paint using the same type of roller cover and consistent pressure and direction. Maintain a wet edge and paint the entire wall from corner to corner whenever possible. Painting only over the repaired area can create a visible difference in color or sheen.
READ MORE: How to Clean Scuff Marks Off Painted Walls Without Removing Paint
Common Finish Risks After Patching
- Flashing: The repaired area looks duller or shinier because it absorbed paint differently.
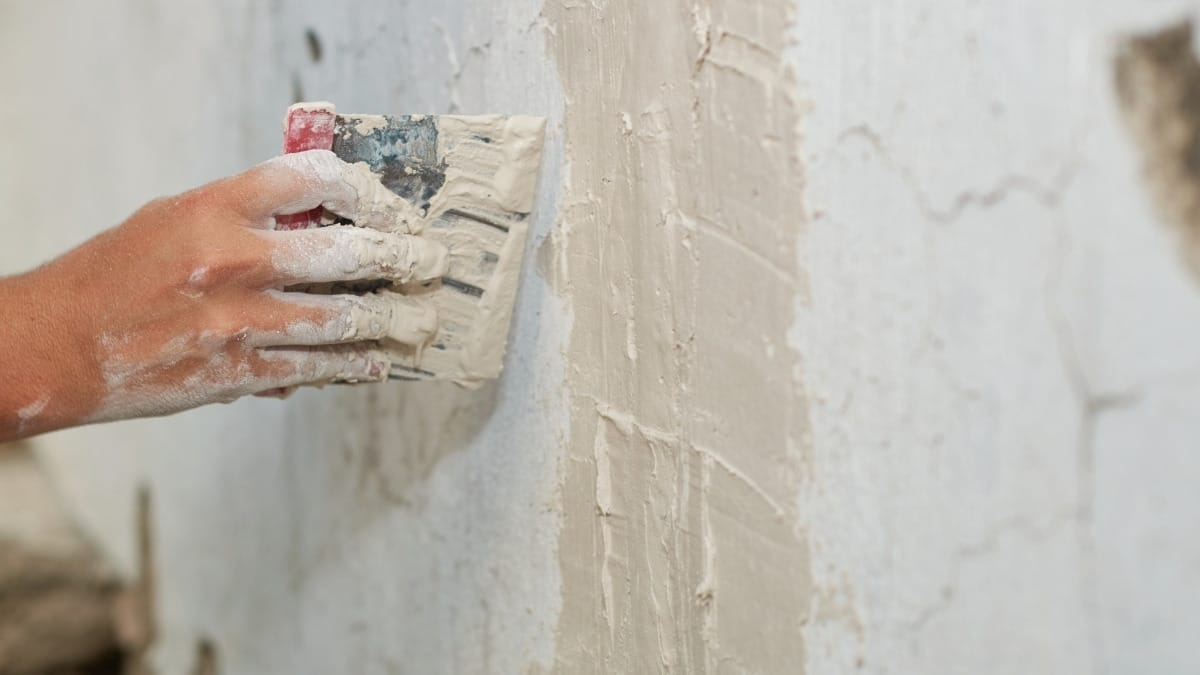
- Patch mapping: The outline remains visible because the edges were not feathered or the texture changed.
- Poor adhesion: Dust, gloss, moisture, or contamination prevents a strong bond.
- Raised texture: A heavy primer application, roller lint, or poorly sanded compound can catch the light.
Before sanding painted surfaces in a home built before 1978, address the possibility of lead-based paint. The EPA warns that renovation, repair, and painting activities can create hazardous lead dust and recommends testing, lead-safe work practices, and the use of qualified professionals when required.
Frequently Asked Questions
Should I prime only the patch or the whole wall?
Spot-prime a small repair when the surrounding coating is sound and the final paint has a low-sheen finish. Prime the entire wall when repairs are widespread, surface porosity varies, or a uniform sheen is critical. Treat stains with an appropriate stain-blocking primer according to the product instructions.
What happens if I paint directly over joint compound?
The compound may absorb paint unevenly, causing dull spots, color variation, or visible patch boundaries. Primer seals the porous repair and helps the finish coat develop evenly.
How smooth should drywall be before painting?
The repair should feel flat at the center and transition gradually into the surrounding wall. Inspect it by touch and under side lighting. Paint will not hide a raised edge, deep scratch, or ridge.
How many coats of primer does a drywall patch need?
Most repairs need one even coat of a compatible primer. A second coat may be necessary if the compound remains highly absorbent or the patch still appears dull. If stains show through, apply an appropriate stain-blocking primer according to the product instructions.
Why can I still see the drywall patch after painting?
A patch may remain visible because of uneven sanding, incomplete priming, sheen differences, poor feathering, or insufficient finish coats. Side lighting can also make small surface variations more noticeable.
Prepare Patched Walls for a Consistent Finish in Glastonbury
Good results depend on what happens before the paint can is opened. Glastonbury Professionals House Painters provides interior painting preparation that can include cleaning, patching, sanding, priming, and finish application based on the wall’s condition.
Get a quote to discuss your drywall repairs and interior painting project in Glastonbury, CT.